Decking Installation Guide
Before beginning work
Having taken delivery of your boards, we recommend you allow them a day to adjust to your local temperature and conditions before starting work. We do not recommend installing your deck in cold weather. Your Cladco decking® boards can be worked with normal woodworking tools. We recommend using a wood saw with a fine-tooth blade to cut boards to size. When cutting, care should be taken to ensure the boards are properly supported.
For your safety
As with other building work it is important to work safely and to take suitable safety precautions including the wearing of protective clothes, gloves, safety goggles and dust mask.
1
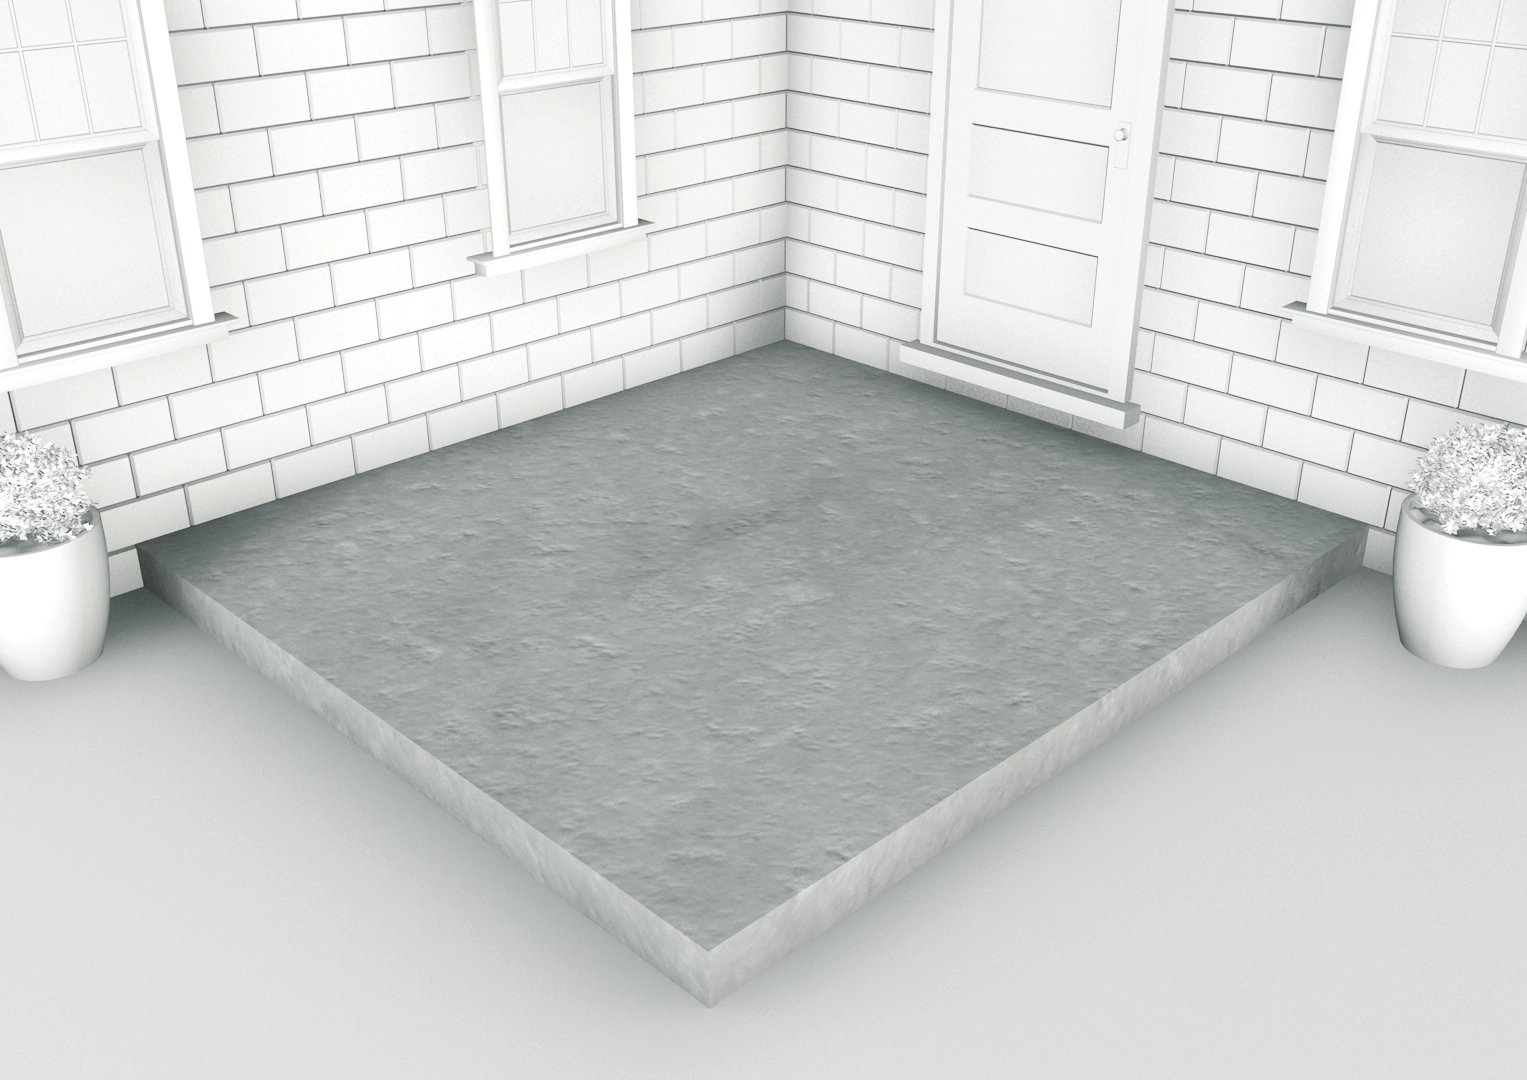
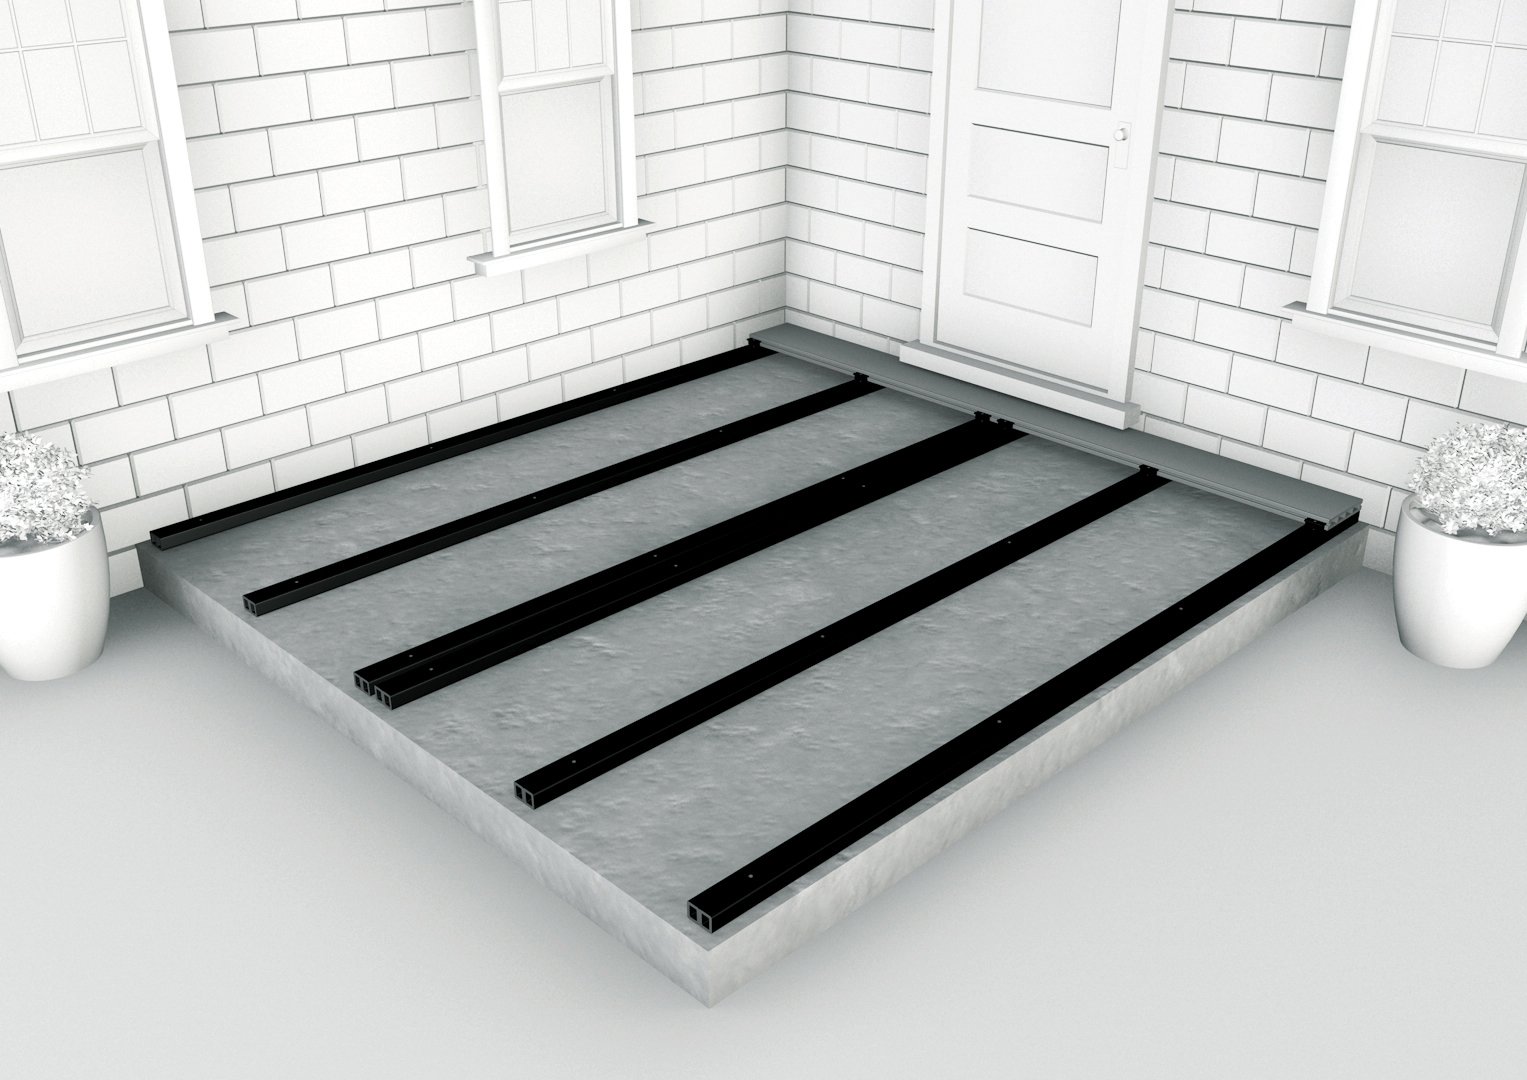
Make sure that the area to be decked is flat and stable. The concrete base should be at least 10cm thick and have a slight slope – we suggest a gradient of 1 in 80 – that runs away from the property to allow for the run-off of water that collects under the deck.
2
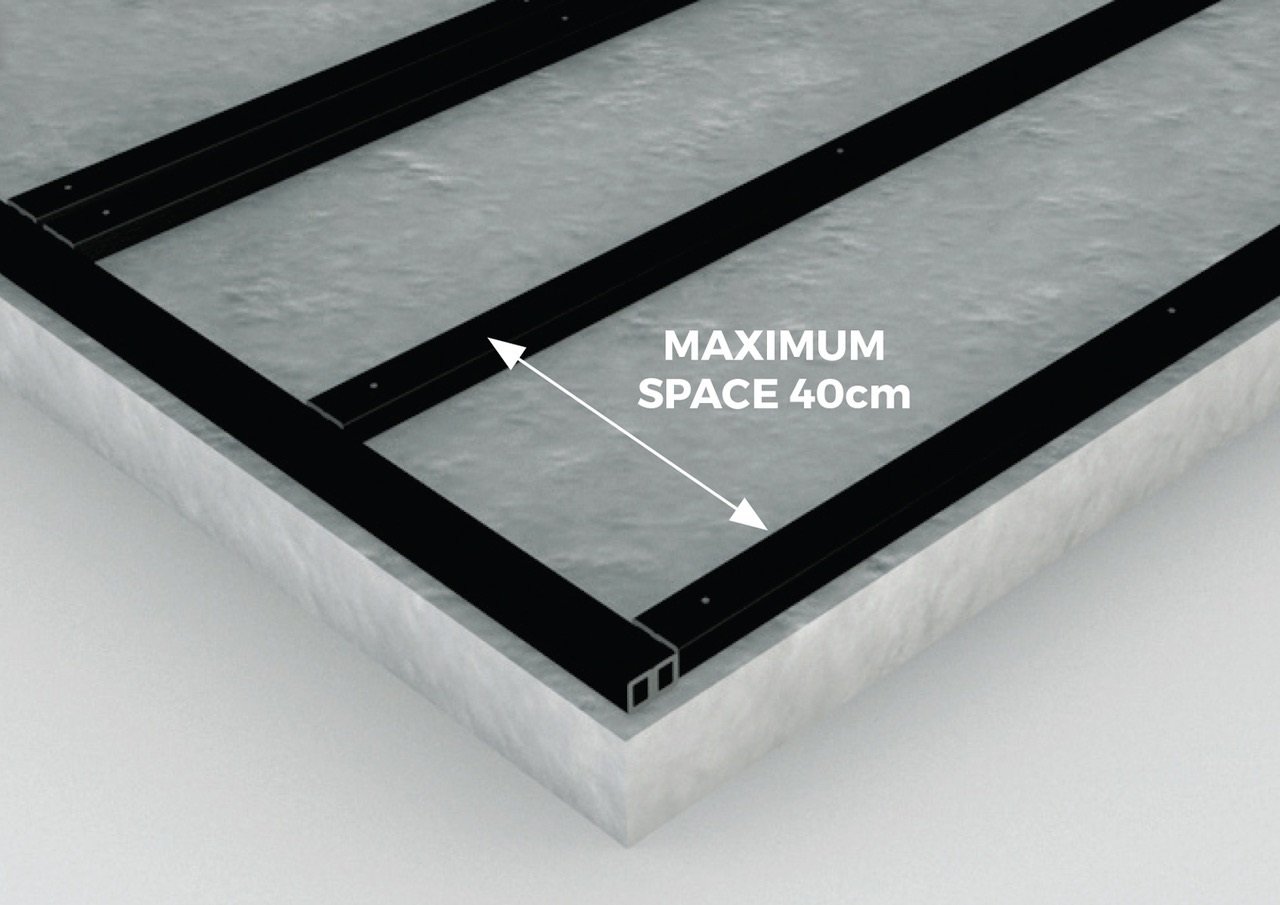
The maximum recommended space between joist rows depends on the angle at which you intend to lay your boards in relation to the joists, but should never exceed 40cm, please see diagram (above).
3
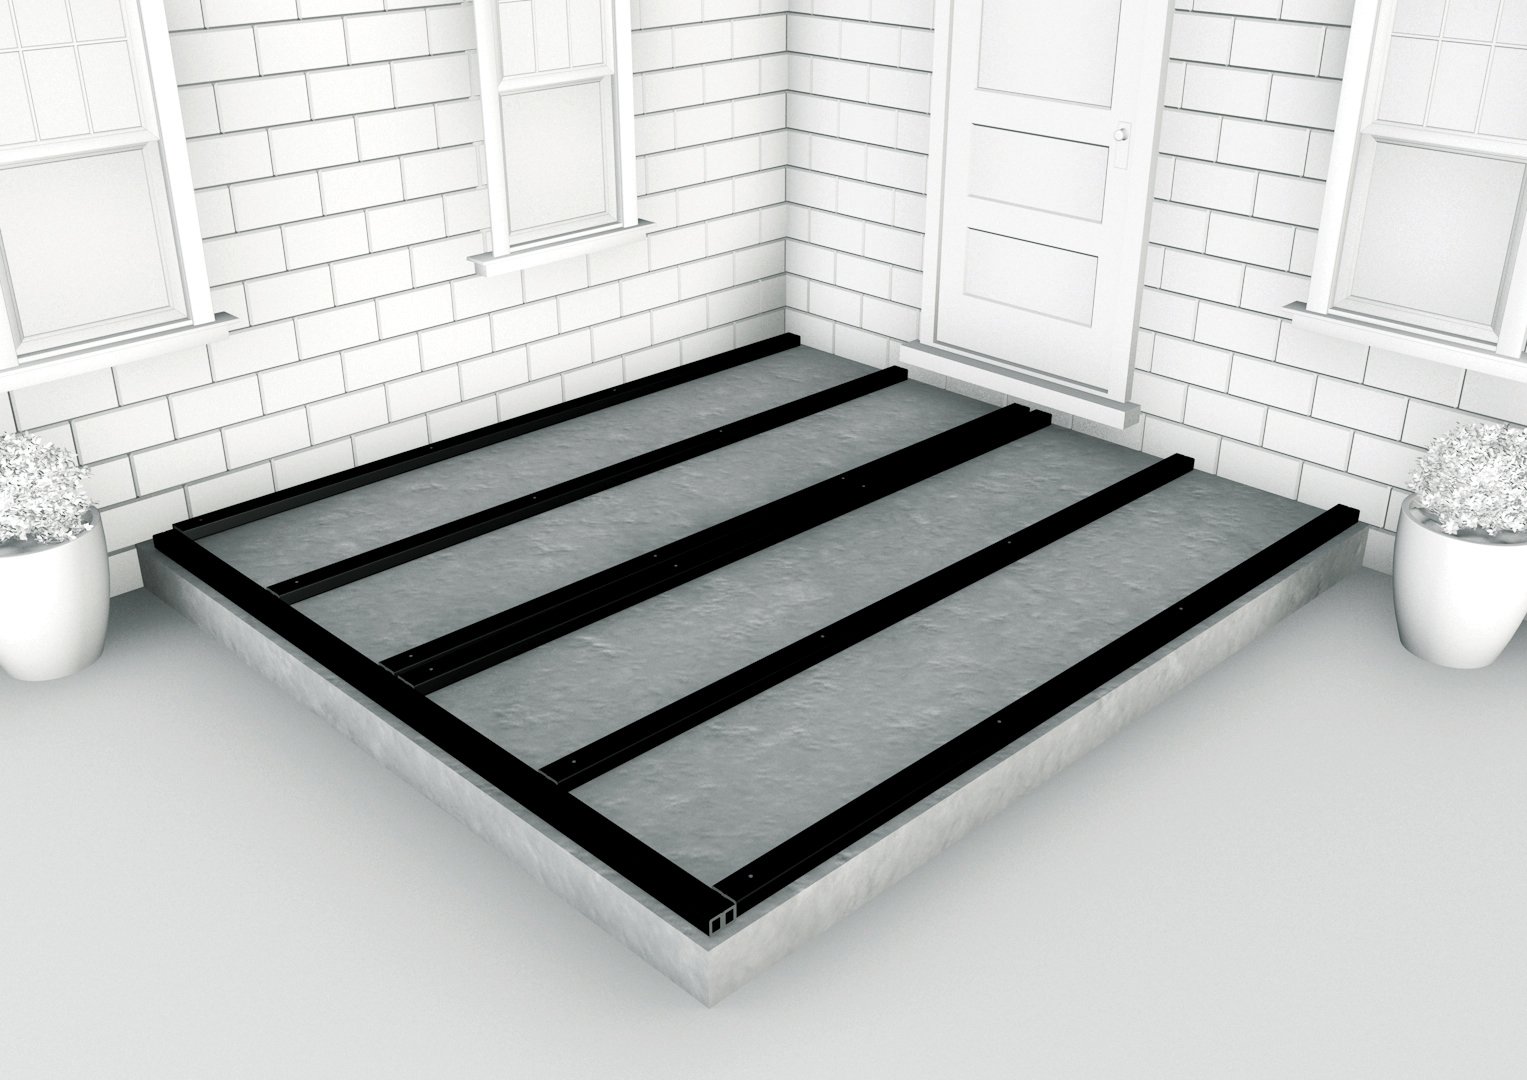
Boards must not be laid directly on the ground but should be fixed to the joists of a suitable supporting substructure. This will vary, for a domestic patio deck we typically recommend a simple concrete base and our own WPC joists.
4

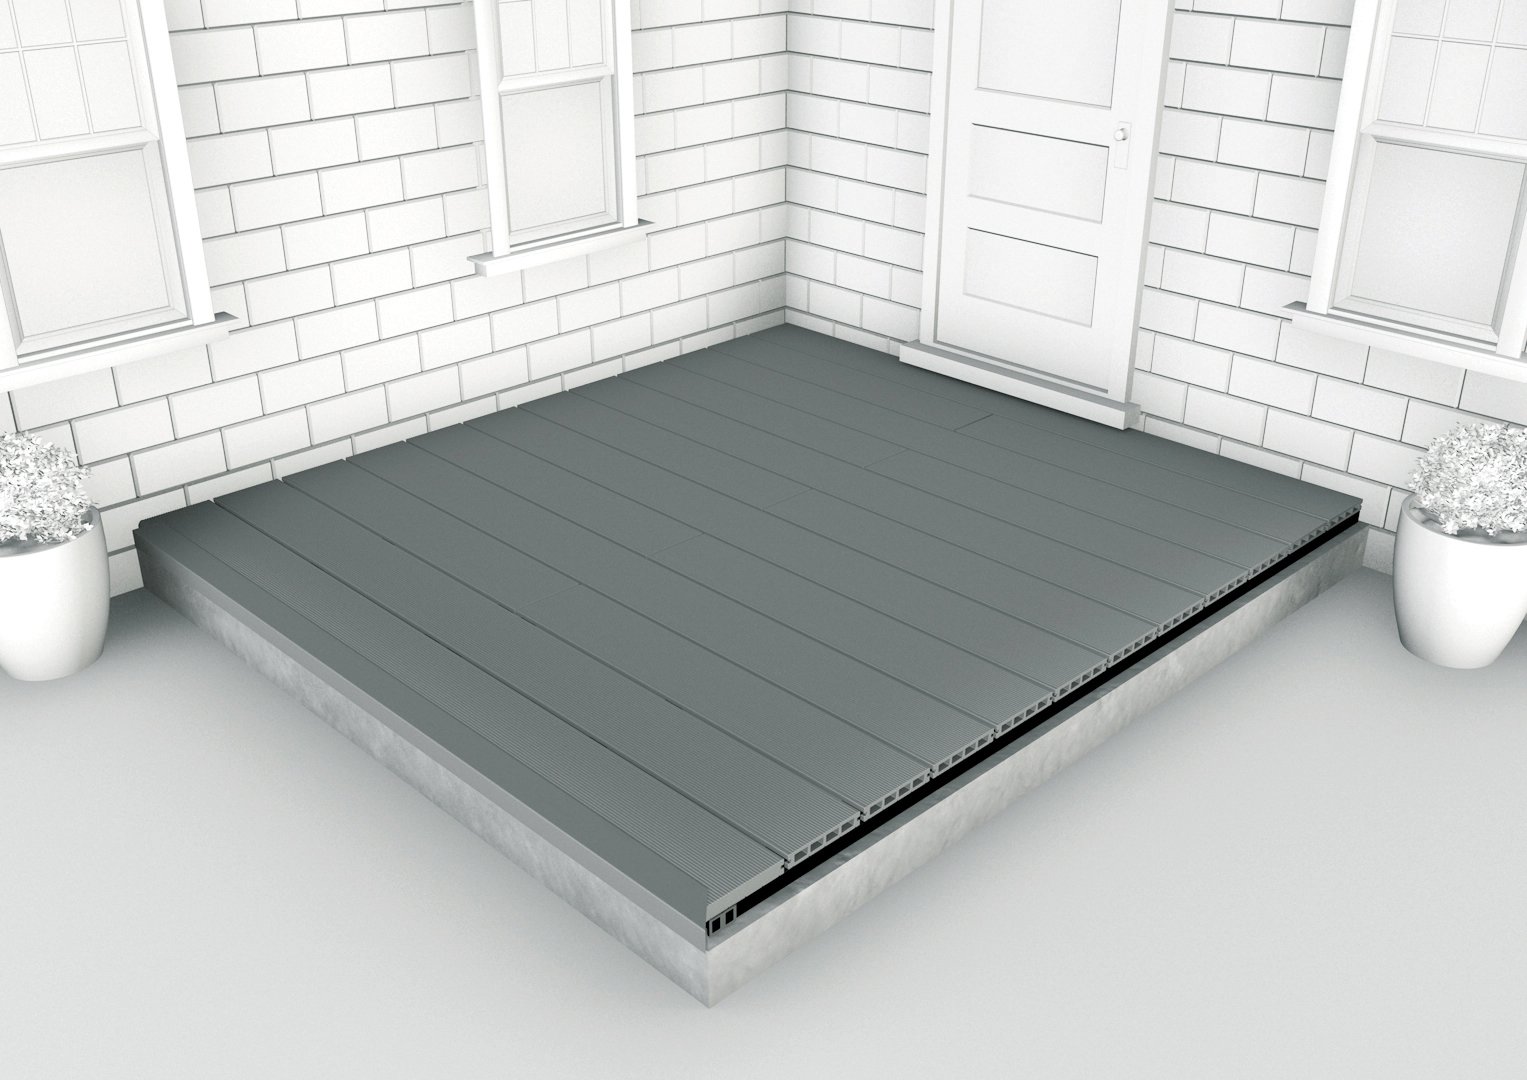
A gap of at least 15mm should be left between the ends of joists and a fixed object such as a wall and of at least 8mm between the ends of joists at butt joints. These allow for proper drainage and temperature expansion.
5
A starter clip needs to be fixed to the end of the WPC joists before laying the first board. Place these at the end of each joist where you will start to lay your boards, leaving a gap of 15mm between the wall and the starter clip to allow for expansion.
6
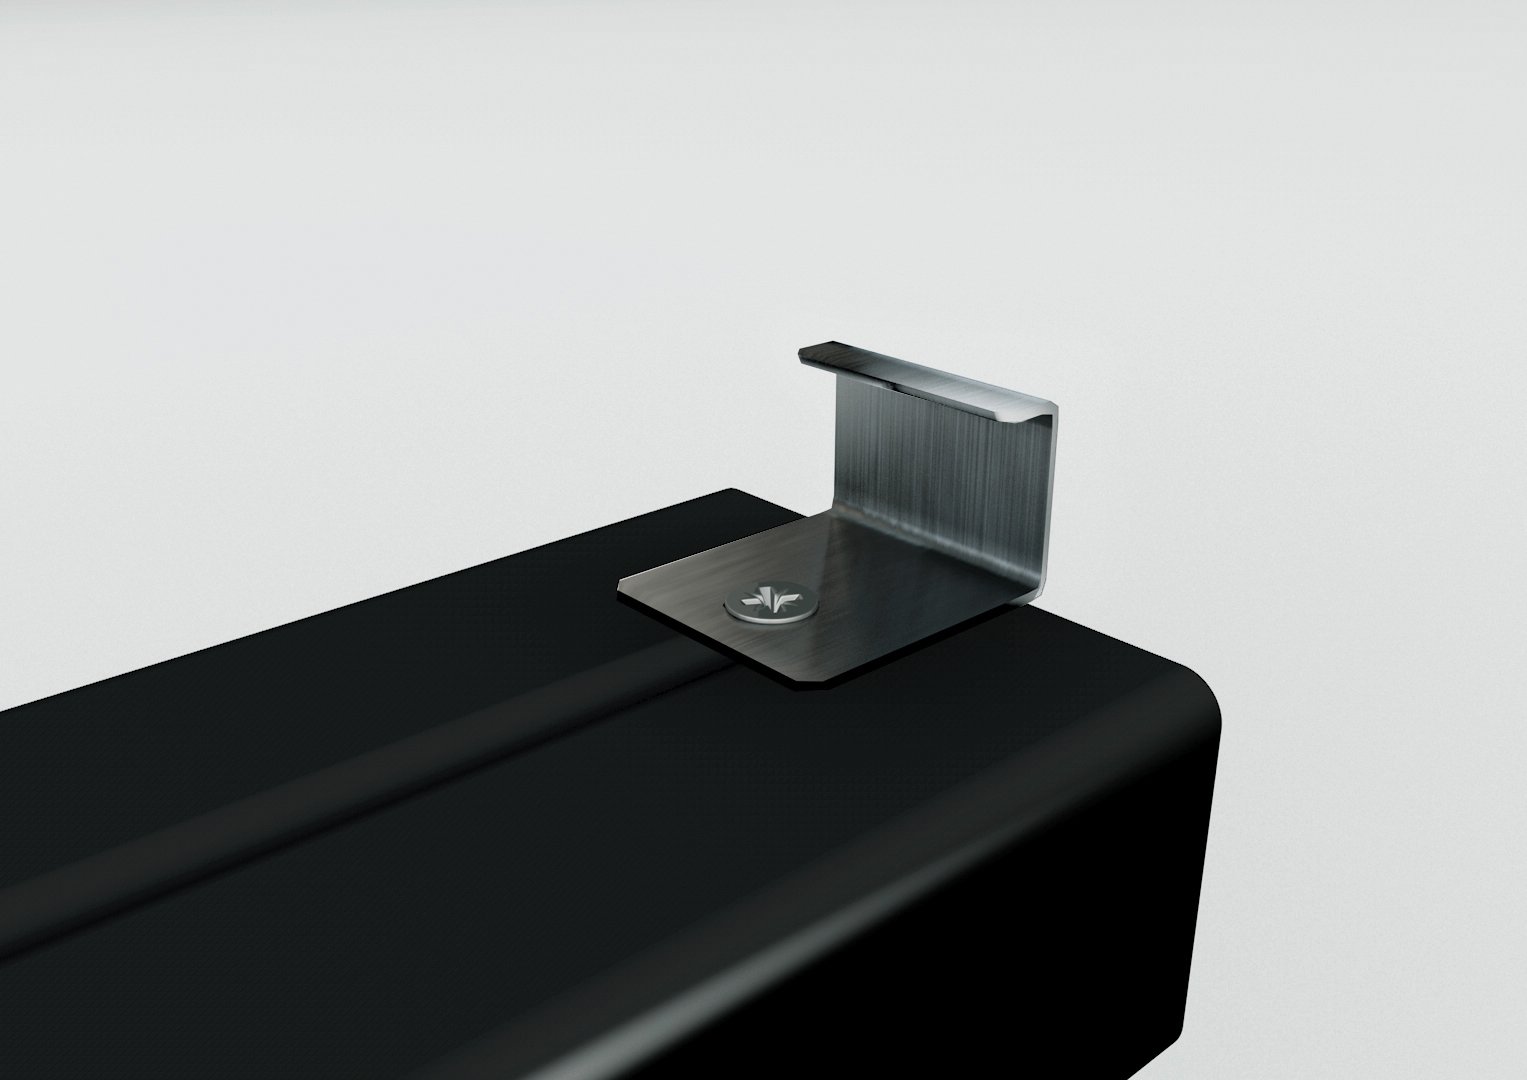
Starter clips allow you to start and finish your decking precisely where you want, meaning you wont have a large gap when fitting against a wall of fence. Attach the stainless steel starter clip to the end of the WPC joist before starting to lay your Cladco decking boards.
7
Our WPC boards are easily fastened to the joists of a supporting substructure with the help of our stainless steel screw and plastic T-Clip system. Start at the outside of the area to be decked. Place your first board and fix it to each joist it crosses using a row of starter clips.
8
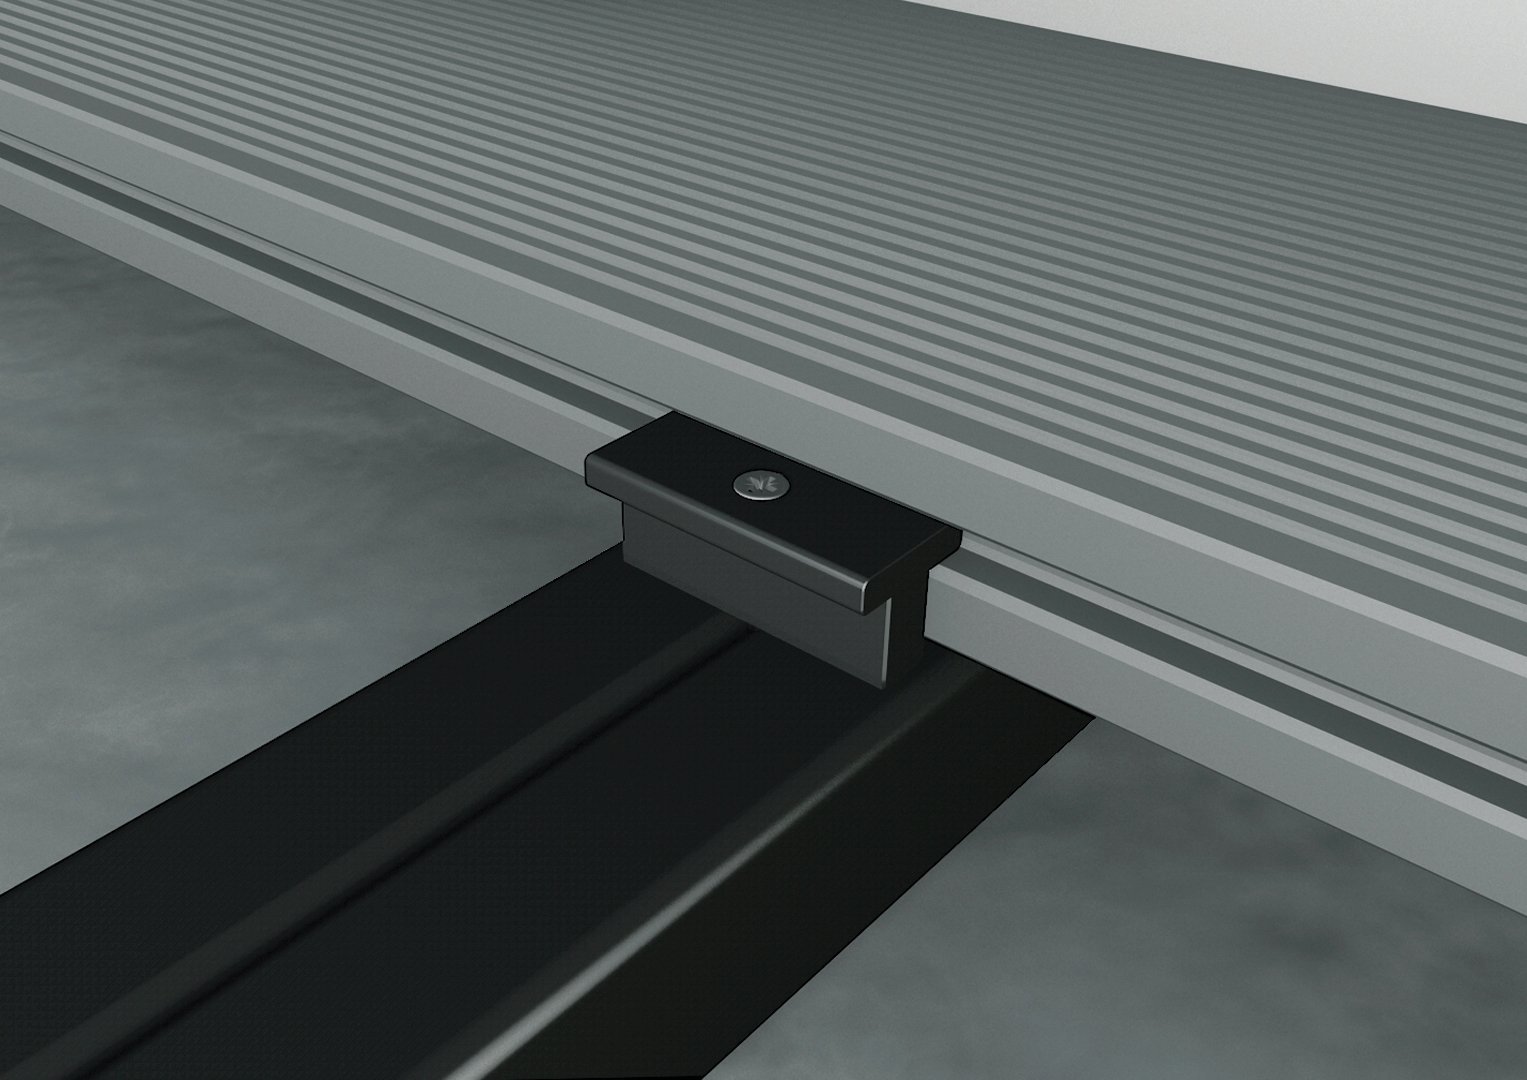
Then fit T-clips into the groove along the side of the board and screw them into the supporting joists with the screws provided, one T-Clip for each supporting joist. We recommend you use our stainless steel wood screws offering increased wear and less corrosion.
9
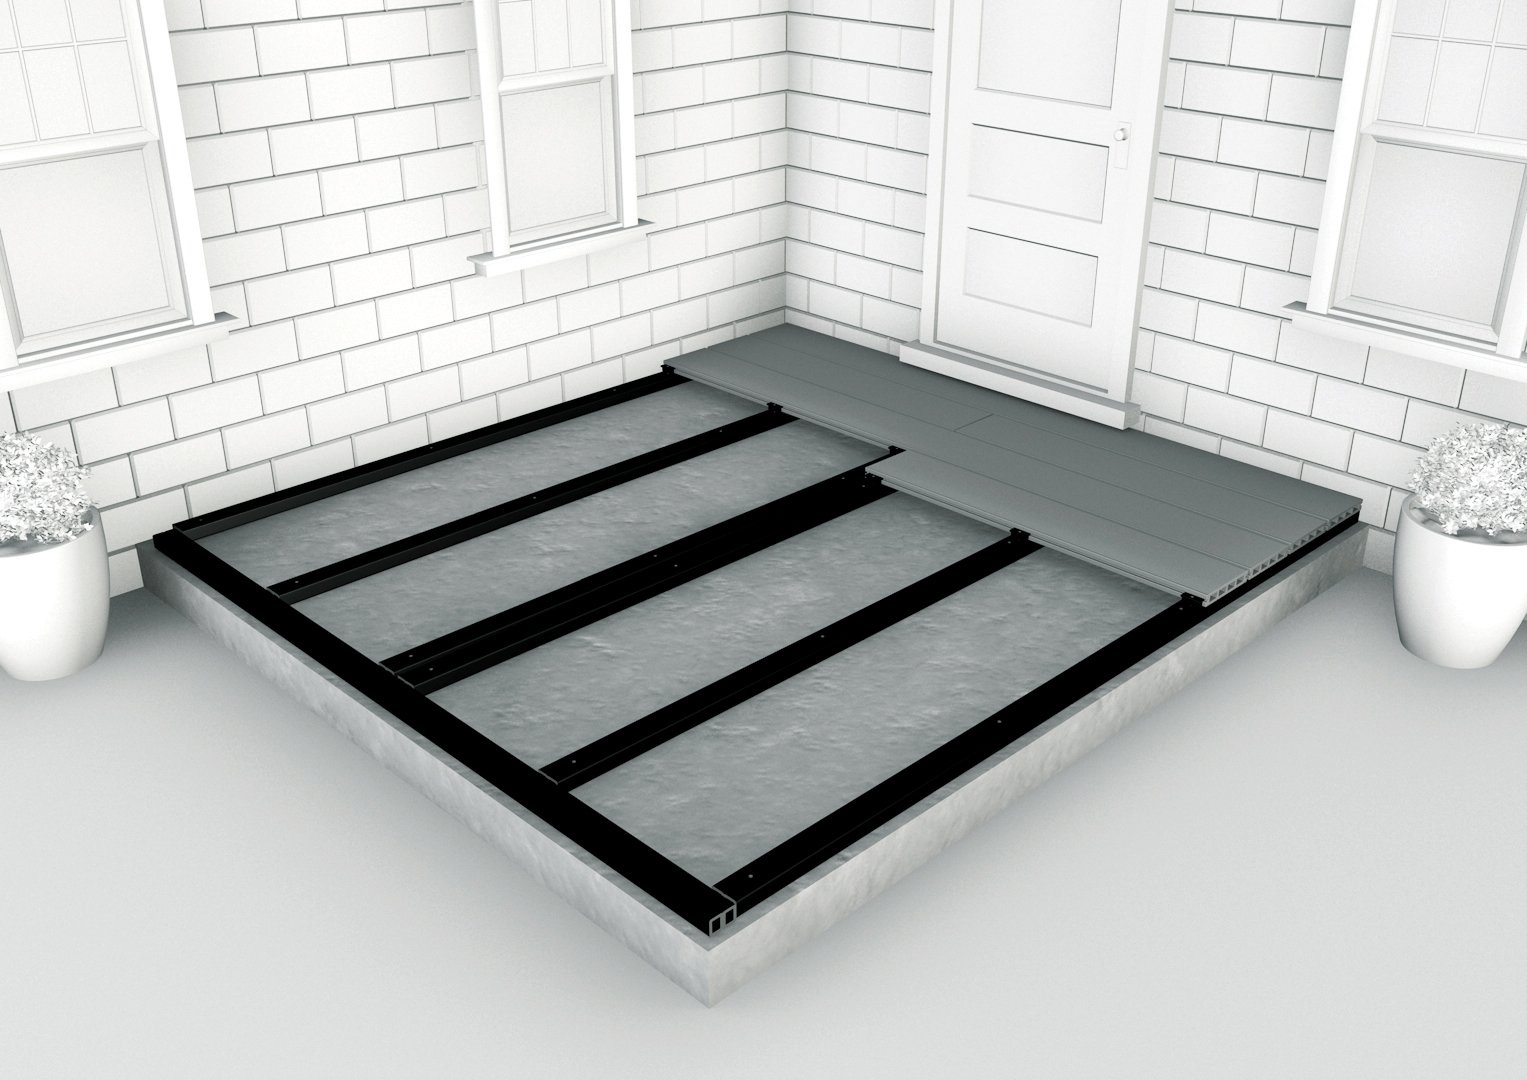
Fit your next board by sliding it onto the T-Clips used to secure the first board and fitting another set of T-Clips to secure the opposite side of the board, again one T-Clip for each supporting joist. Follow a similar process to fix subsequent boards.
10
The ends of boards must be fully supported. No overhang or cantilever is allowed.
11
At butt joints – where the ends of two decking boards meet, this may mean doubling up on supporting joists as you will need to ensure that each board is held in place with it’s own T-Clip where they meet.
12
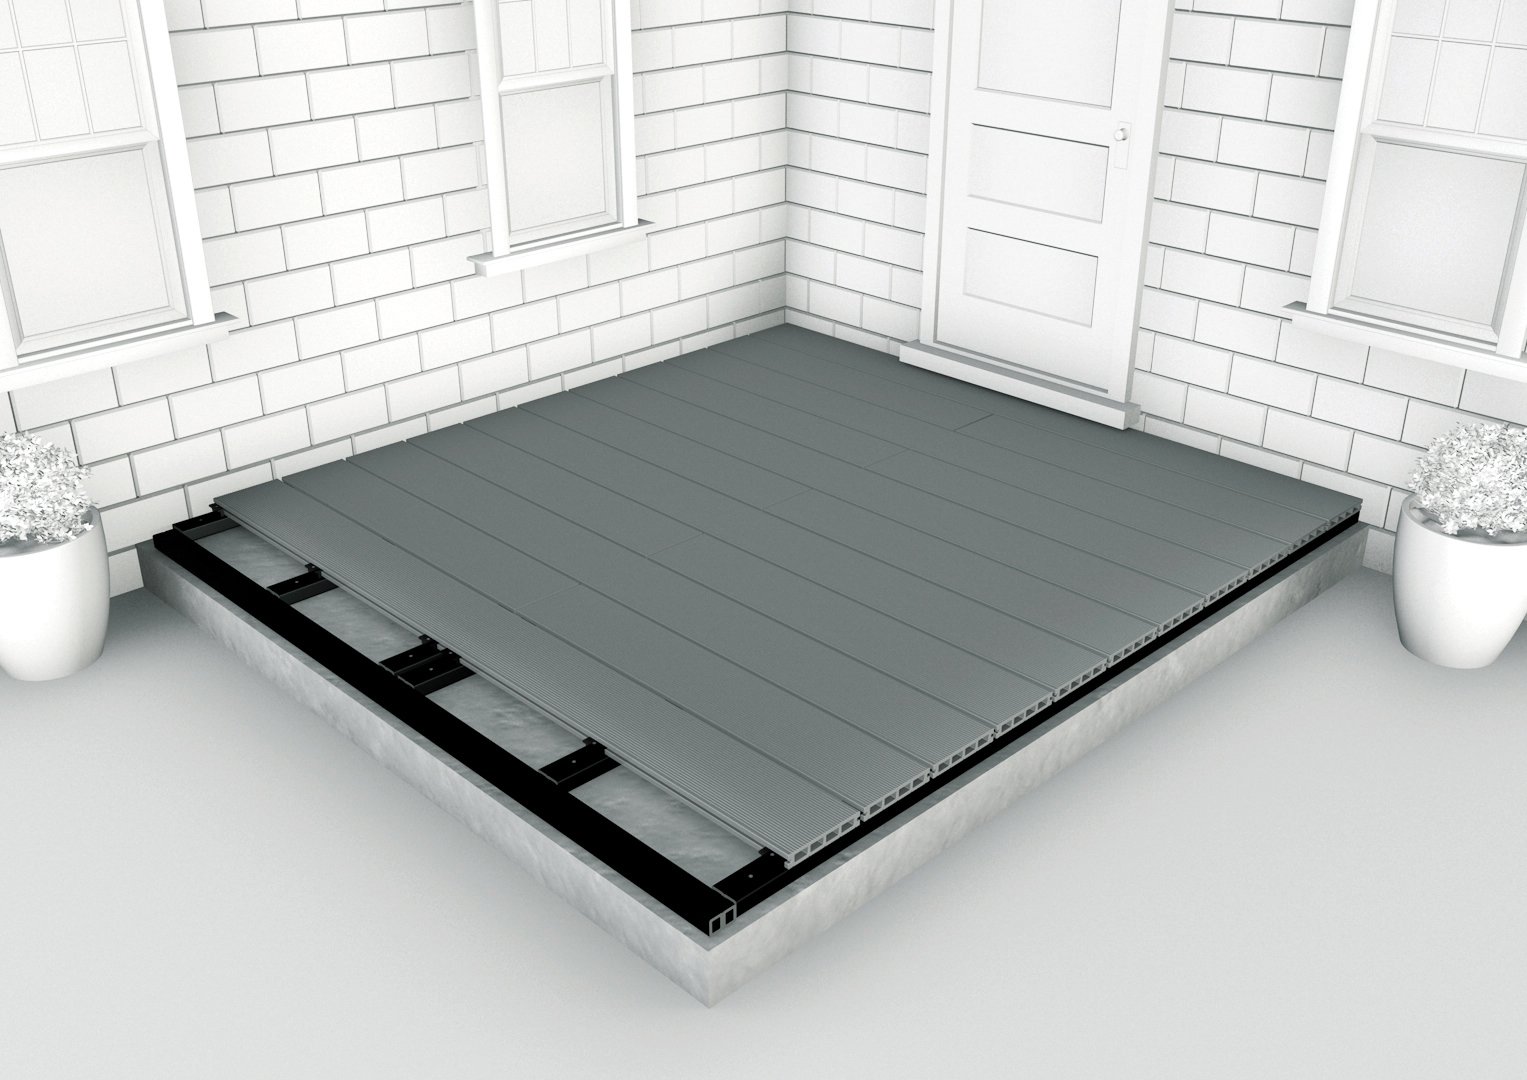
Having fastened your boards all that remains is to tidy up the sides of your new deck with our WPC skirting and corner trims which can be used to hide the unfinished end of boards and supporting joists.
13
Our hollow decking end caps are used to seal off the ends of hollow core boards to give your decking a professional finished look, and are available in the same colours as all our composite decking boards. Apply them to neatly complete your decking project.
14
Corner trims are available in both composite material or aluminium and can be applied subsequently to skirting trims to achieve a finished look to your project by screwing them directly into the joist below the decking.
15
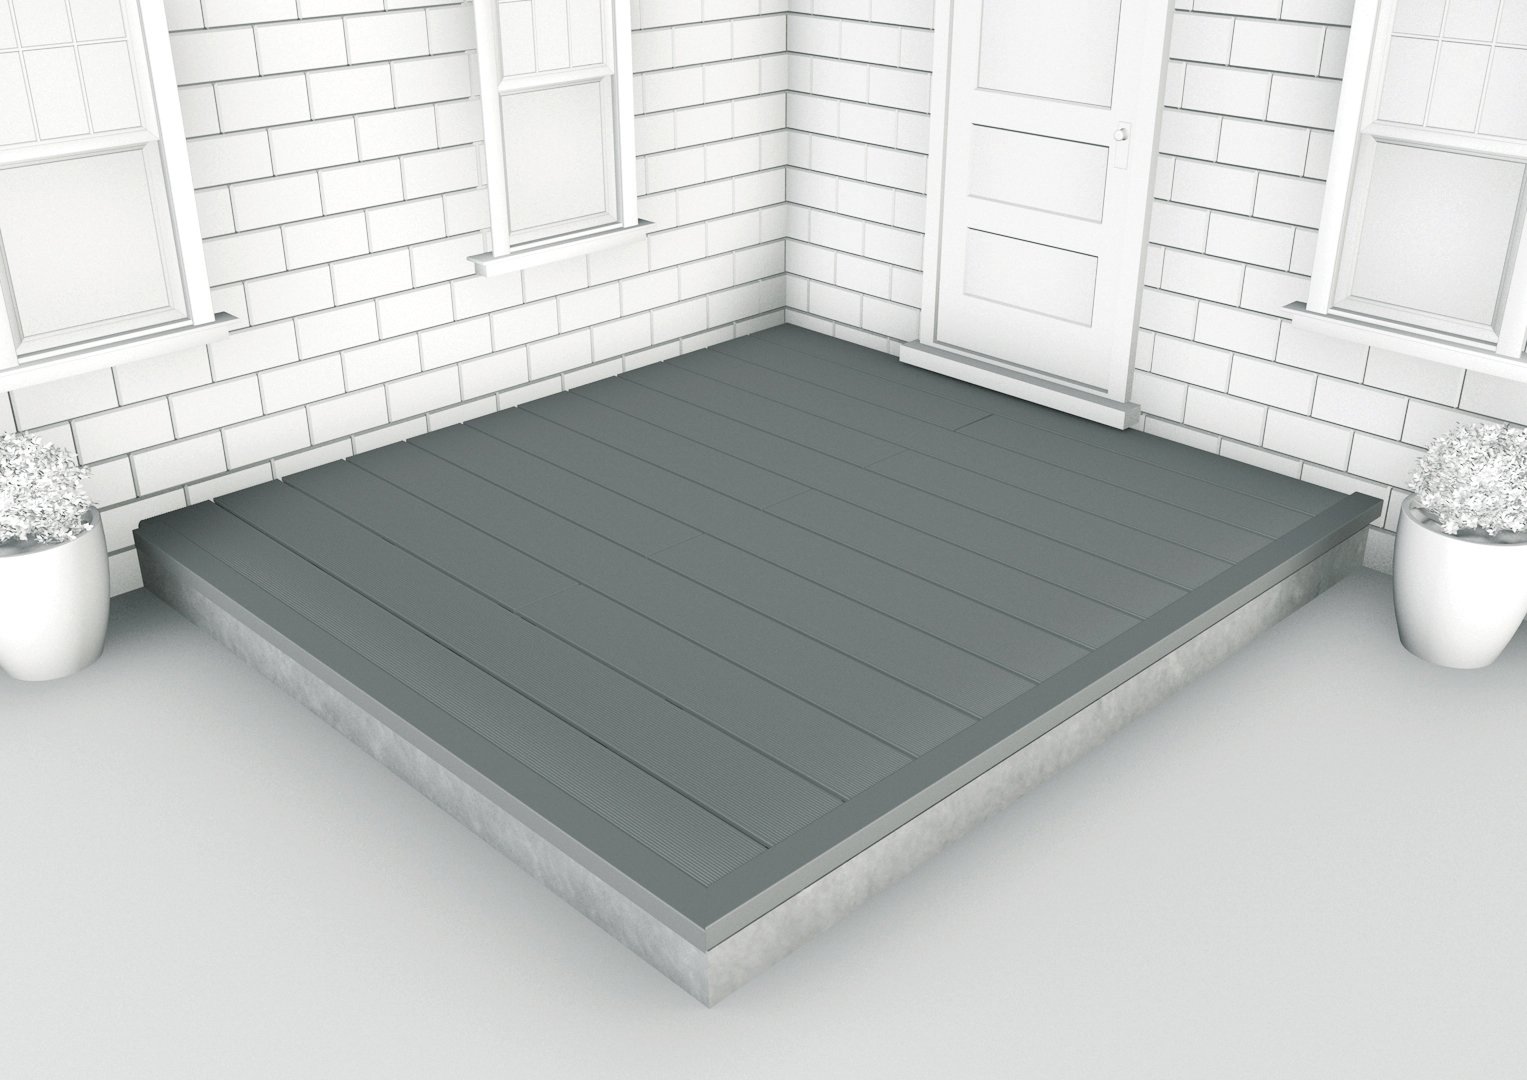
Our skirting trims can be screwed directly into joists with wood screws. A gap of at least 8mm should be maintained between skirting trims and the ends and sides of boards to allow for expansion due to temperature increases.
16

We recommend you do not fully close your deck to allow for the free circulation of air and drainage. Every deck is different and this should be used as a guide only. We accept no liability for any loss or injury caused by any reliance placed on this guide.
Installing decking on grass
Before beginning work
Having taken delivery of your boards, we recommend you allow them a day to adjust to your local temperature and conditions before starting work. We do not recommend installing your deck in cold weather. Your Cladco decking boards can be worked with normal woodworking tools. We recommend using a wood saw with a fine-tooth blade to cut boards to size. When cutting, care should be taken to ensure the boards are properly supported.
If installing on grass ..
...follow the four steps below, then continue as shown on the previous steps above.
1
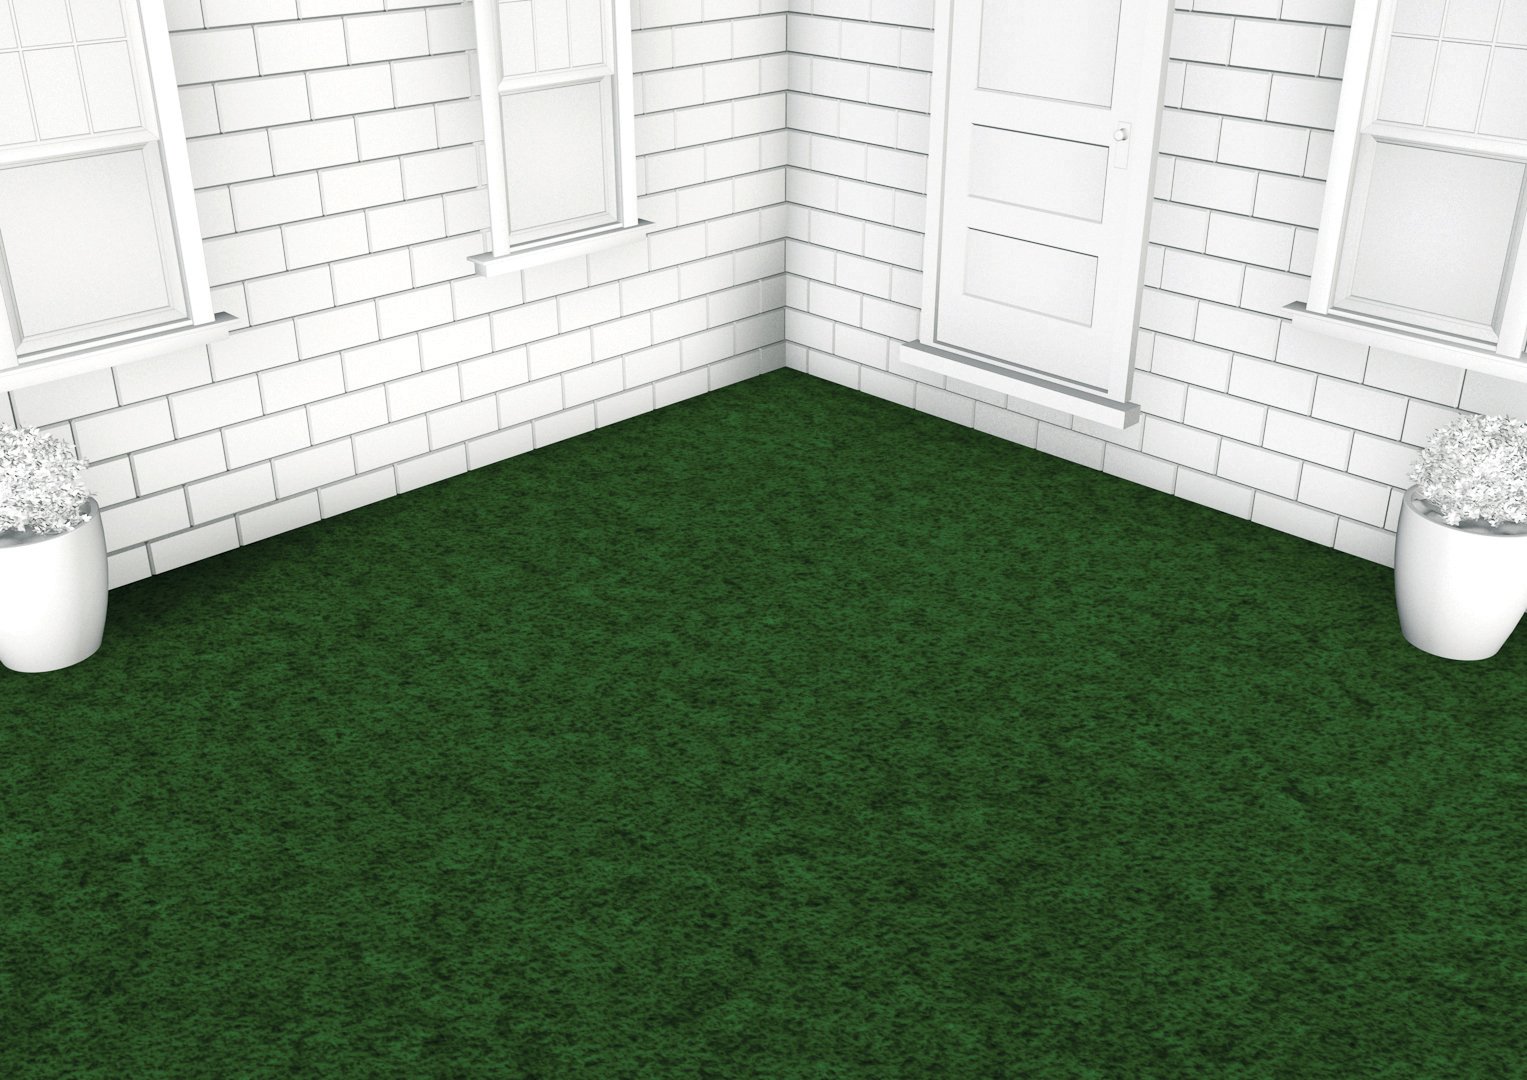
Clear away any plants, weeds, rocks, or other material that might be obstructing your site. Cut away the turf of the lawn by using an edger to cut the area and then a spade to remove it. Make sure the ground is level, you can do this by checking your site with a spirit level.
2
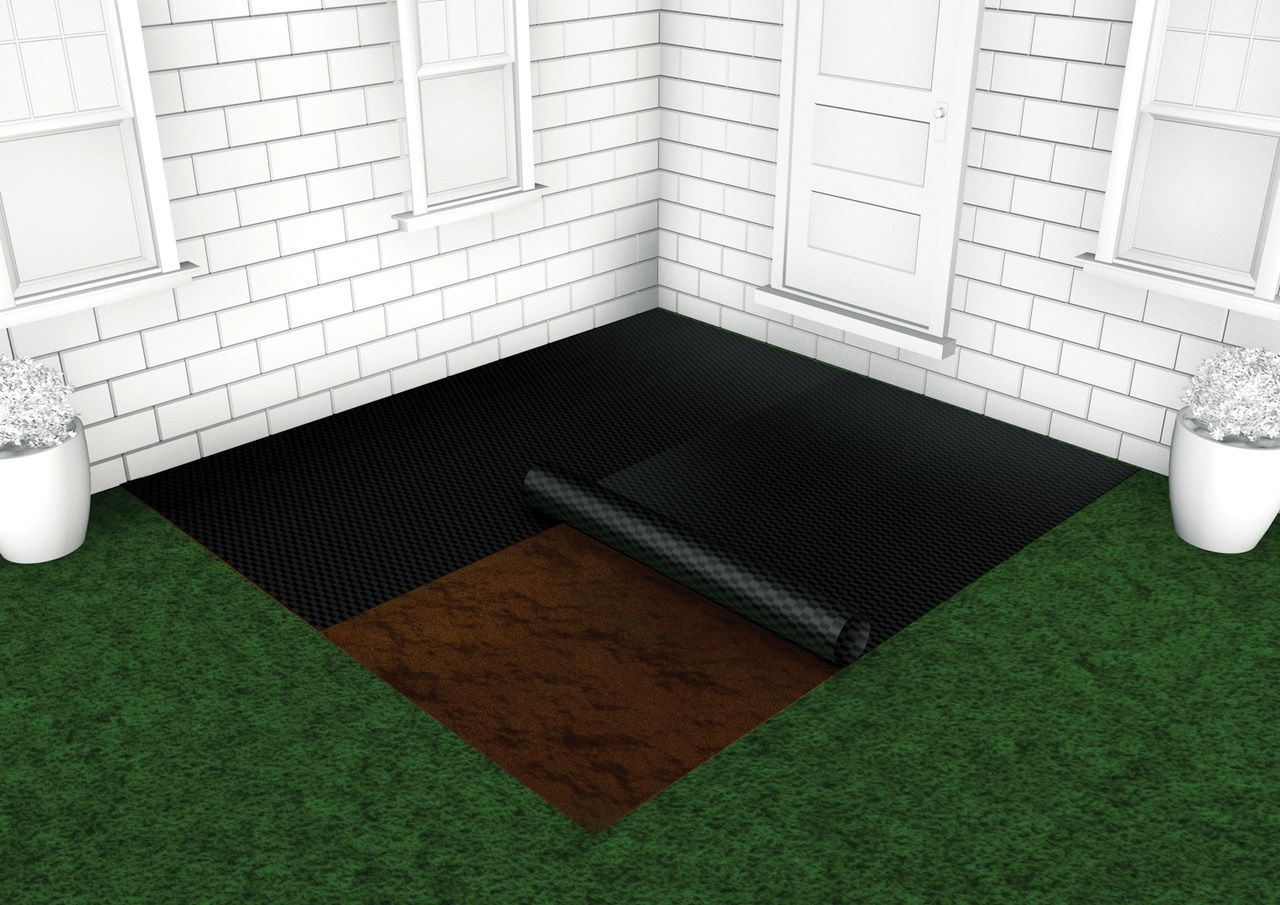
Remove the turf until the ground is completely even. Cover the area of your site with a layer of weed control fabric to prevent any weed regrowth coming up under your decking. You may want to pin your weed mat down at this stage.
3
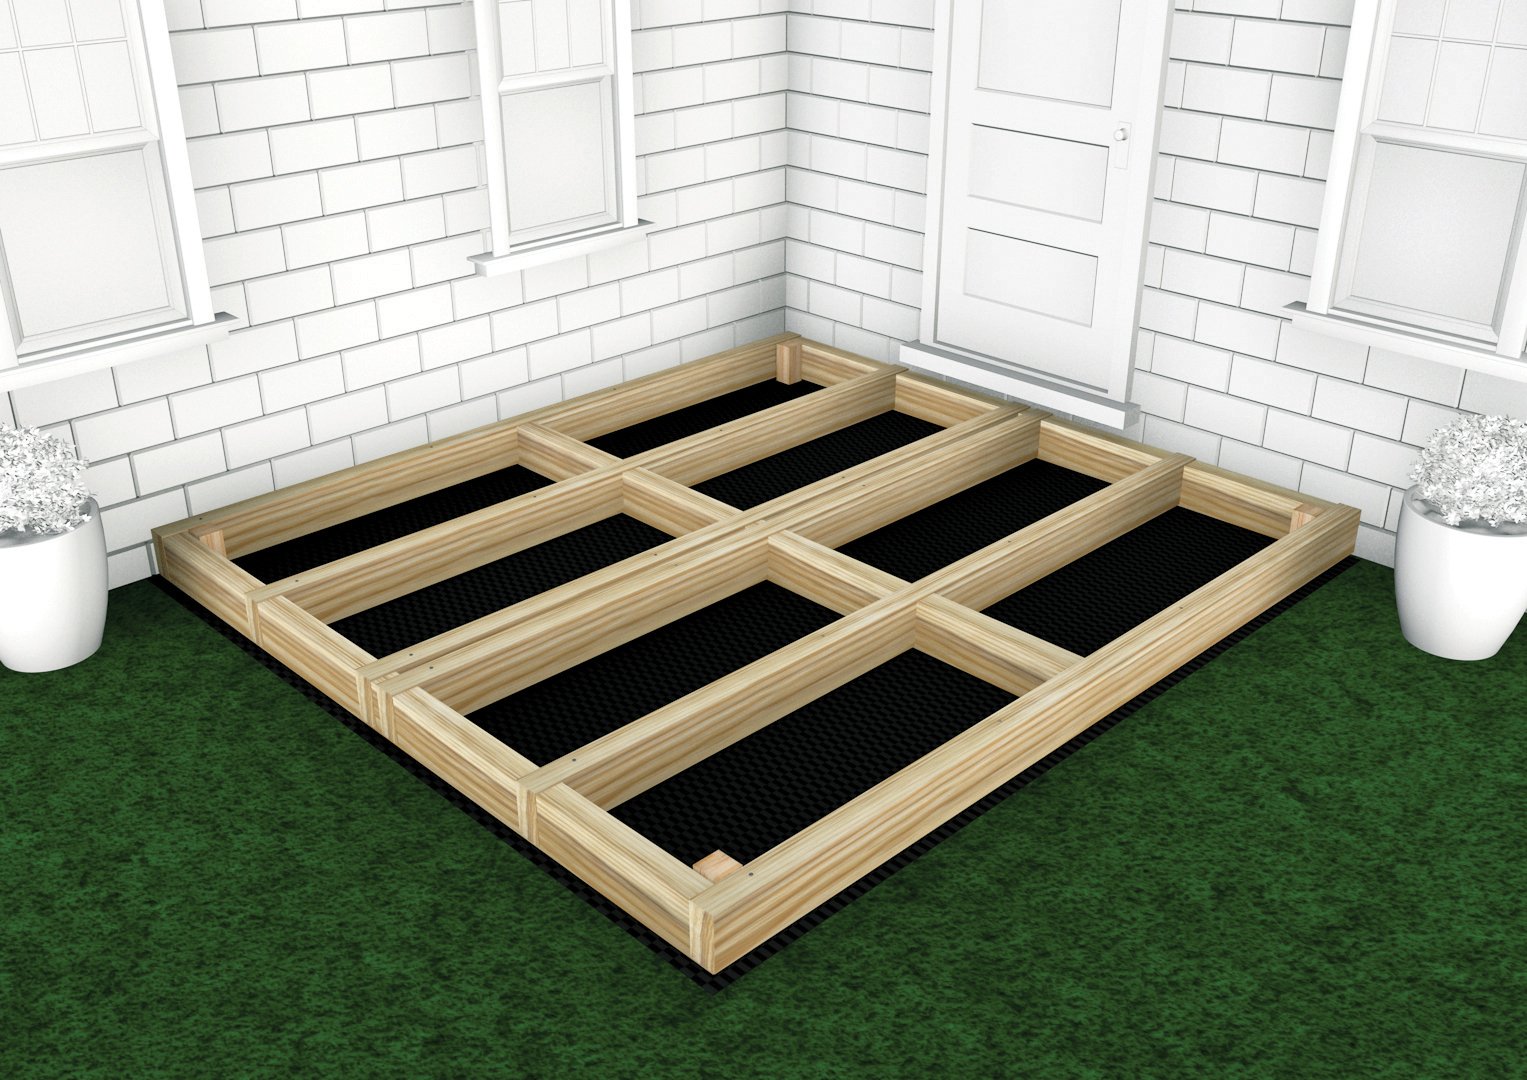
The maximum recommended space between joist rows depends on the angle at which you intend to lay your boards in relation to the joists, but should never exceed 40cm, please see diagram (above).
4
Starter clips needs to be fixed to the end of the joists before laying the first board. Place these at the end of each joist, leaving a gap of 15mm between the wall and the starter clip to allow for expansion. Continue with steps 5-16 on the previous page.