Fencing Installation Guide
Cladco composite fence panels are a convenient alternative to timber fencing. The composite fence panels are built to last using a combination of materials tested for strength and longevity. Cladco composite fence panels are designed to withstand the elements and ensure they maintain an attractive secure look for years to come. Available in 8 attractive colours you are sure to find a suitable colour for your garden.
1
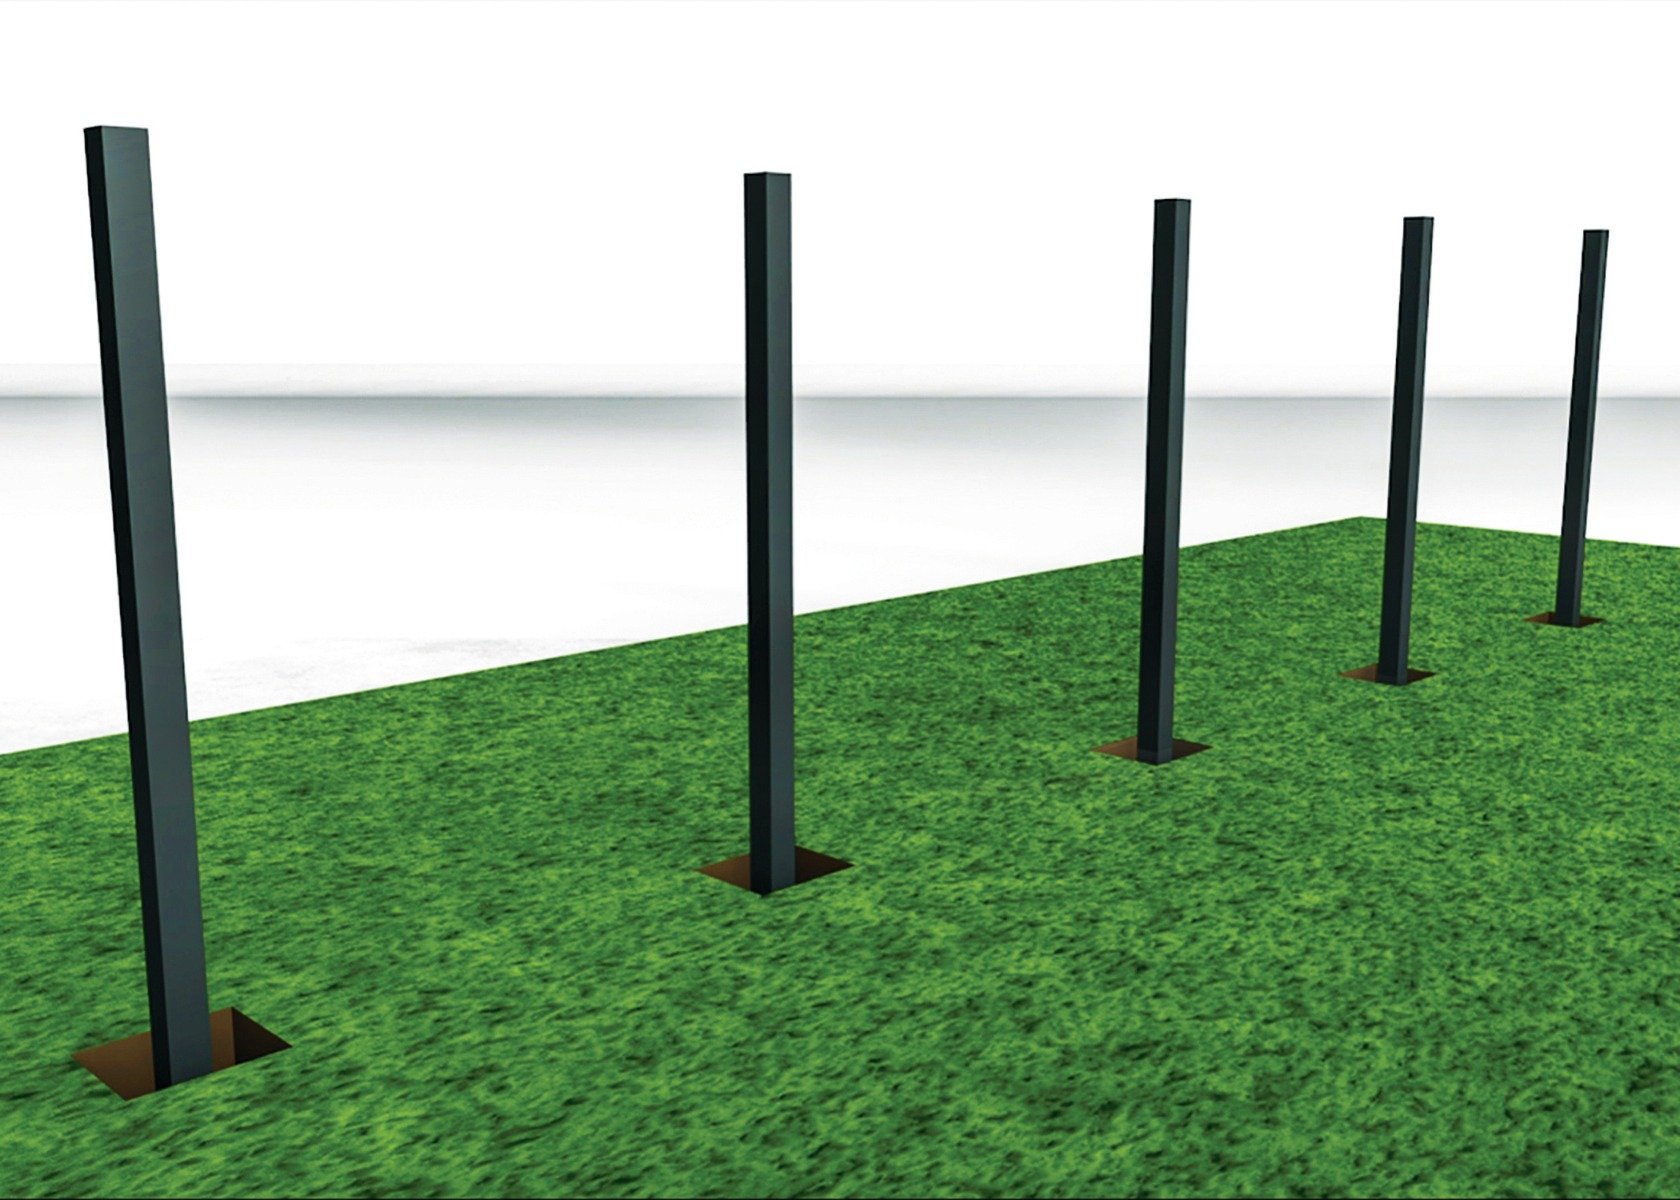
Prepare your area by removing any stones, debris or hazardous material. Dig the fence post holes to 25% of the post height. The fence posts must be a maximum of 2m apart to ensure they can support the fence panels.
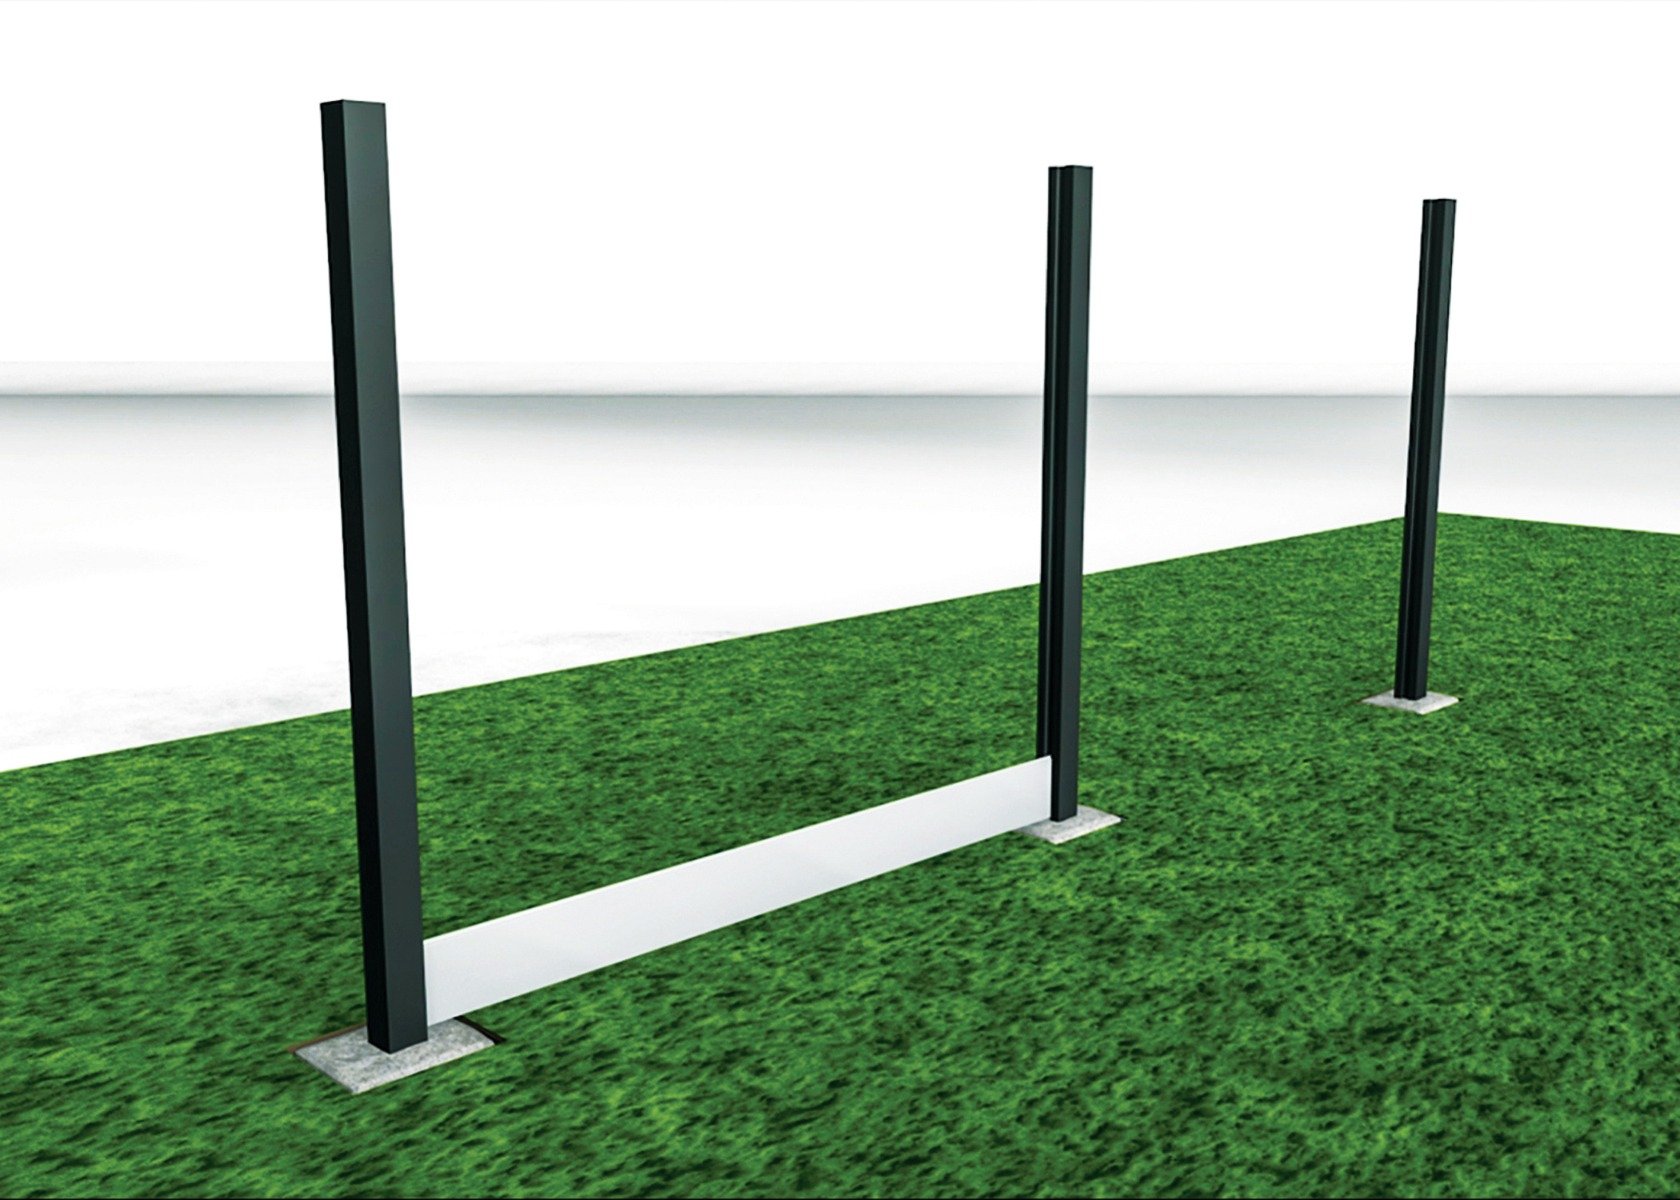
2
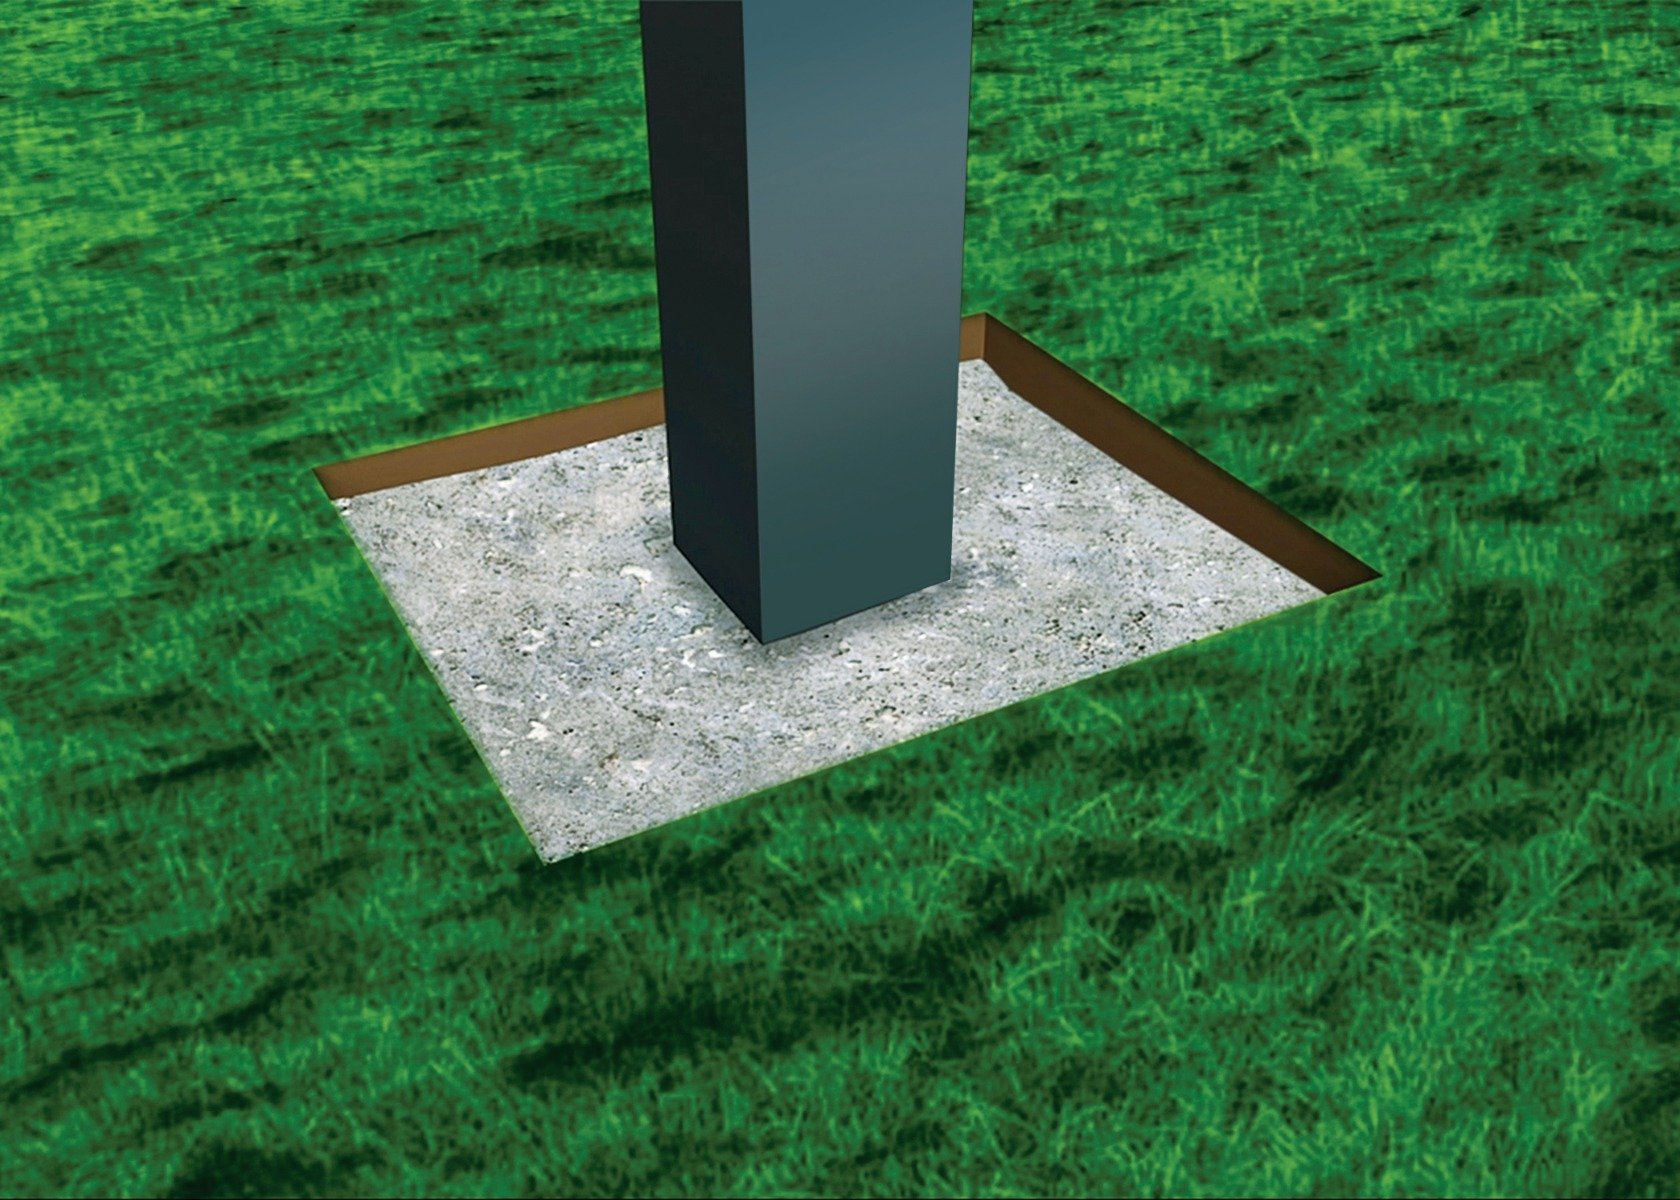
Make sure every fence post is 100% level before using postcrete. Fence posts must have at least 25% of their height concreted into place.
3
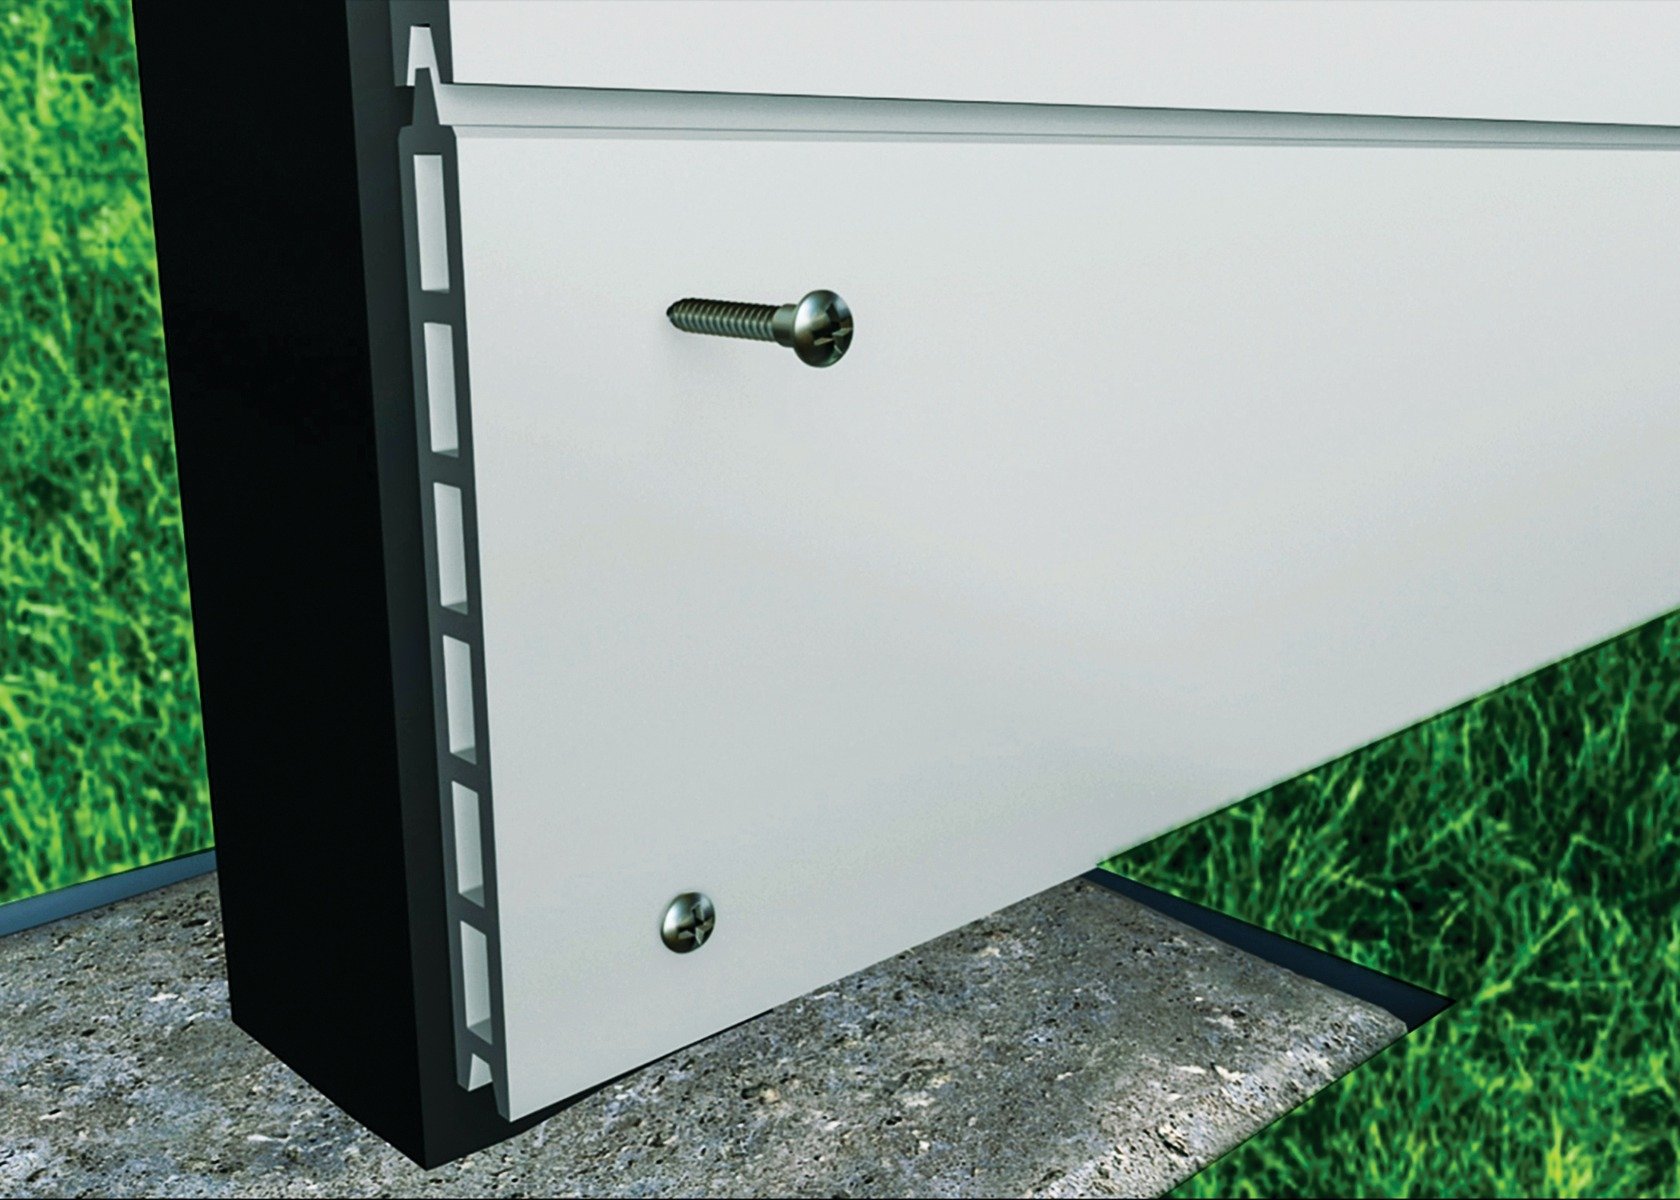
When adding the first fence panel board, ensure it is 100% level before fixing to posts. Screw the top and bottom of each fence panel to the fence posts behind.
4
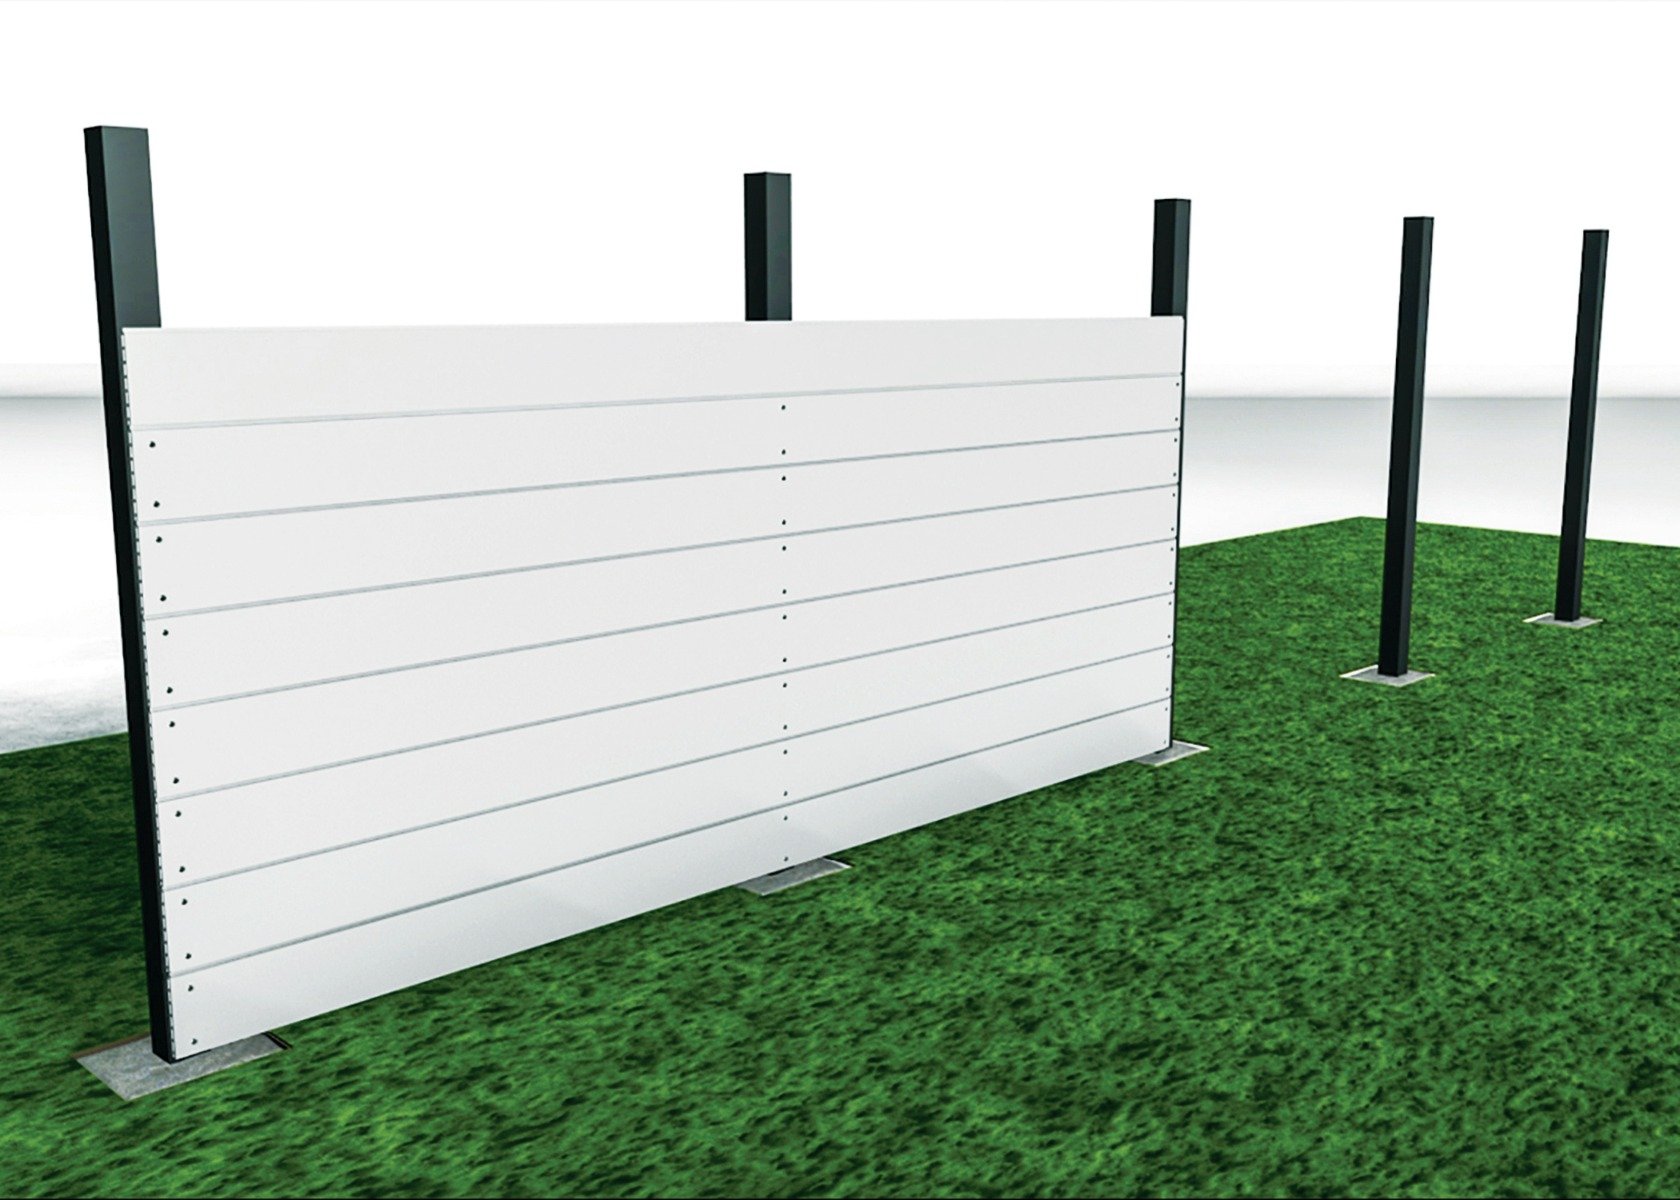
As you start to add more boards ensure each fence panel is 100% level before fixing. Each fence panel slots on top of the board previously fitted. (Example shows 4m fence panels with fence post in between).
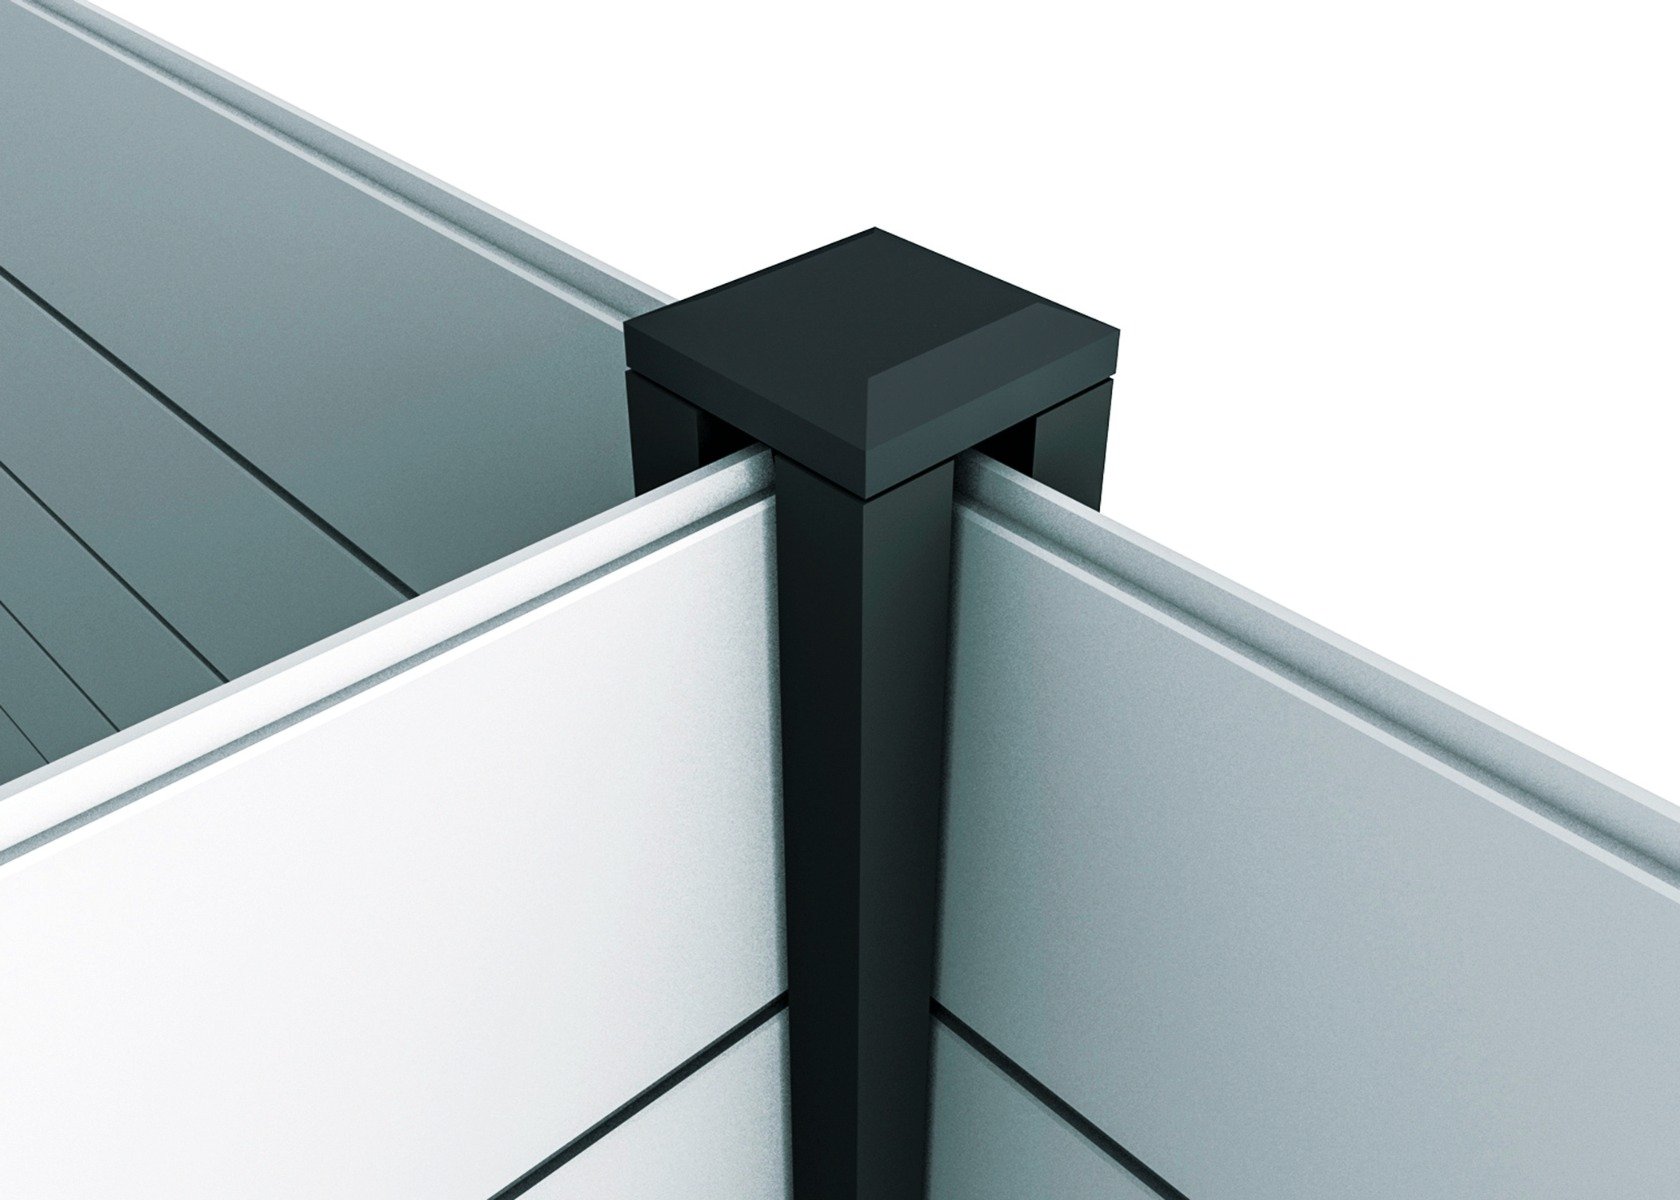
5

Once the desired height has been reached (no more than 2.25m or 10 boards) simply place the cap on top of the fence post. These are also available in all 8 colours to match your fence.
6
Alternatively you can fit the boards by slotting them into the fence posts. Cut up to 4 channels per post using the grooves as a guide. Then simply slide the fence board into the grooves.
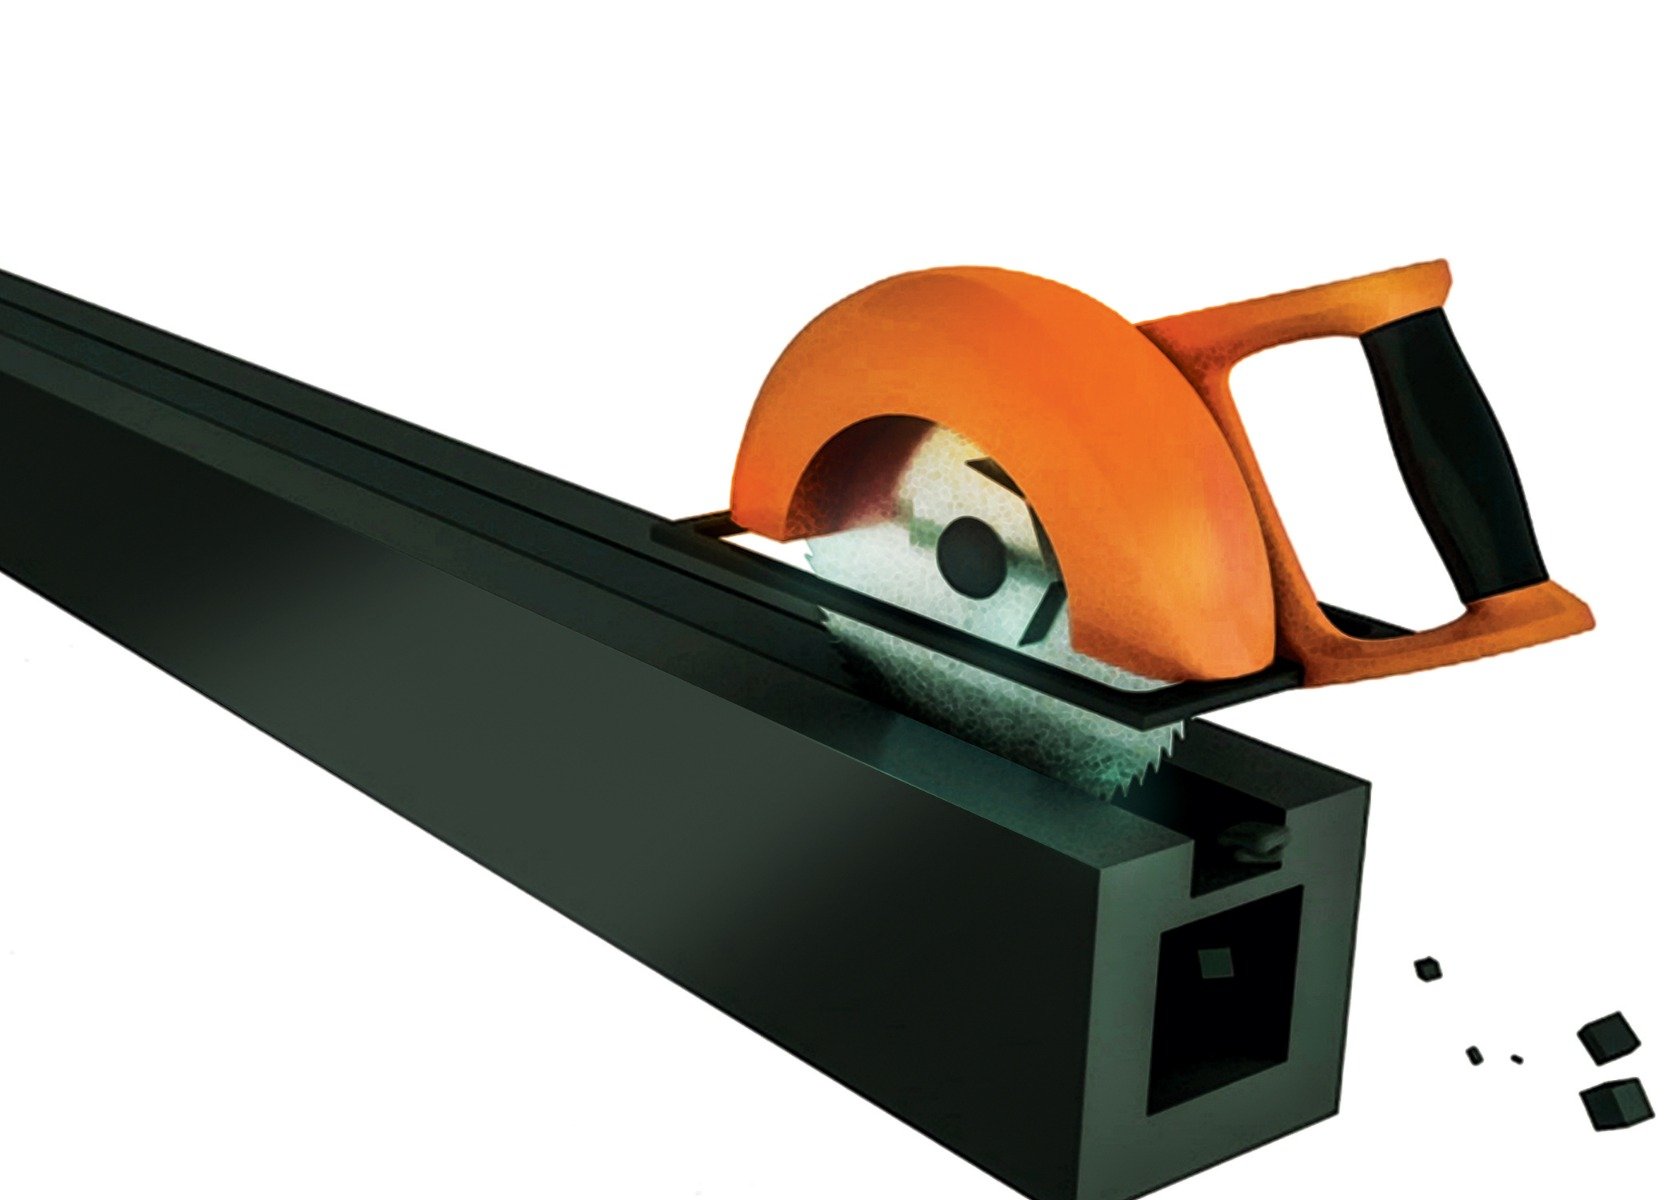
7
When using the cut method the fence panels need to be cut into 2 metre lengths. The posts must be no further apart than 2 metres.
8
Now you can sit back, relax and admire your new fence and remember there is no need to paint or treat – simply enjoy.